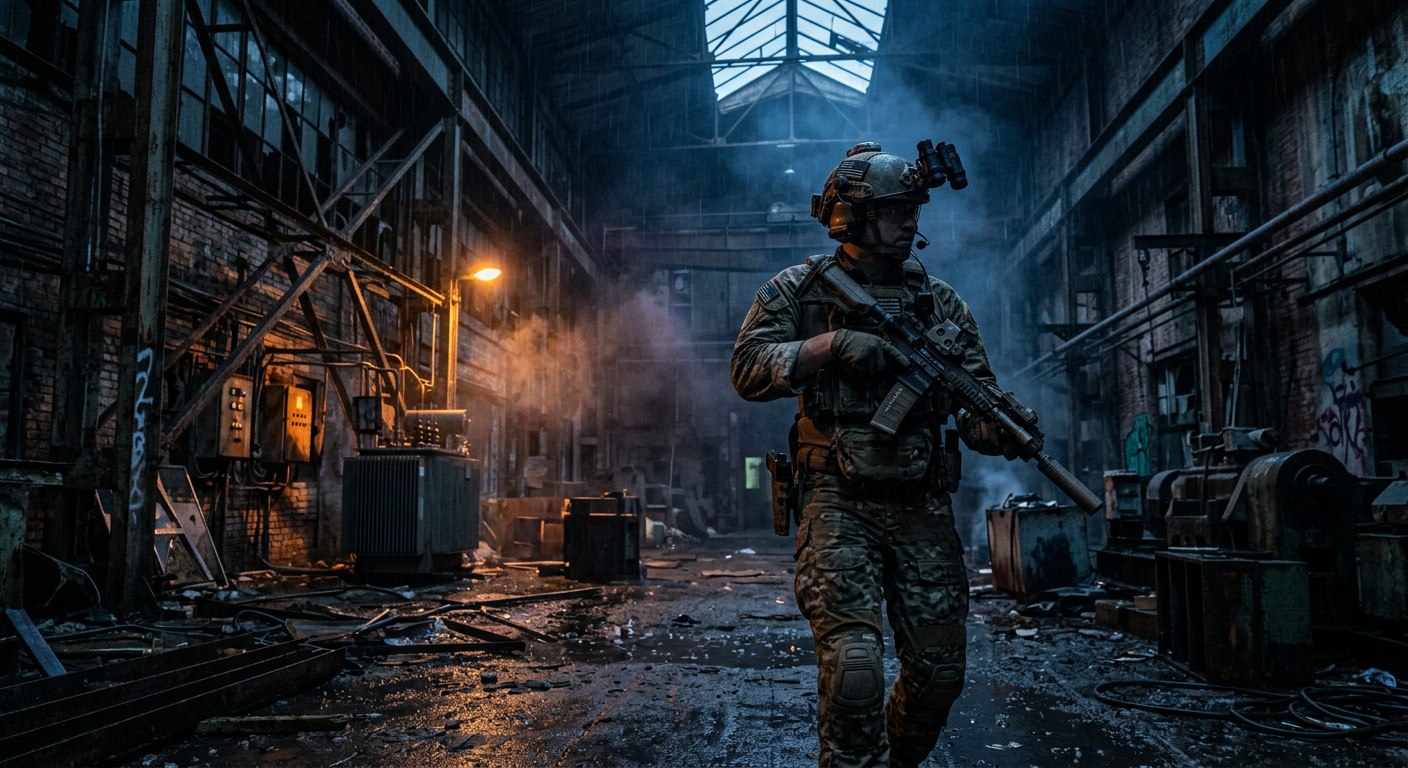
Arena Breakout Infinite Best Gear Loadouts: Budget, Mid-Tier & Endgame Builds
2026-05-22 15:14:54
Picking the right gear in Arena Breakout: Infinite can feel overwhelming. With dozens of armors, helmets, headsets, and backpacks to choose from, one wrong purchase can drain your stash and set you back. This guide provides three complete loadouts — Budget, Mid-Tier, and Endgame — with every slot filled, estimated costs, and advice on when to run each one.
Top up Bonds at TOPUPlive to grab the gear you need for your next raid.


Obsidian Gleam 10 draws
Obsidian Gleam 30 draws
Tactical Control Guarantee Bundle

100 Bonds
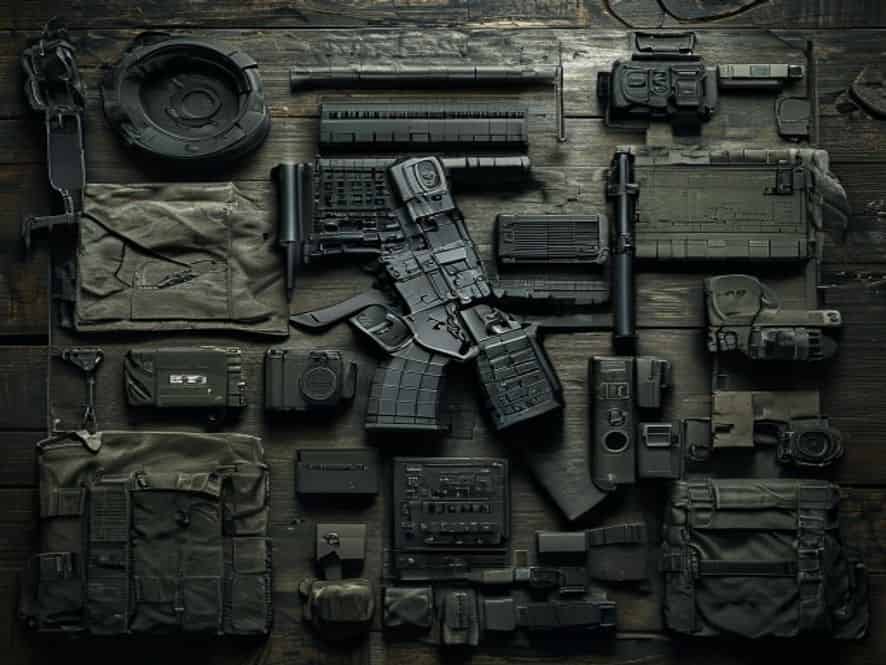
How Gear Works in Arena Breakout: Infinite
Every piece of equipment affects survivability, mobility, or awareness. Finding the right balance is crucial.
The Three Pillars of Gear
- Protection: Armor and helmets block damage. Higher tiers (1–6) and material type (Aramid, Polyethylene, Ceramic) matter for durability and repair costs.
- Mobility: Heavy gear slows movement. Balance armor and backpack size to maintain agility.
- Awareness: Headsets amplify enemy sounds. Skimping here can be fatal.
Understanding Armor Materials
Material | Repair Quality | Durability | Best For |
|---|---|---|---|
Aramid | Excellent | Moderate | Budget/mid-tier builds |
Polyethylene | Excellent | High | Balanced protection & low weight |
Titanium | Good | Very High | Mid-to-endgame hybrids |
Composite | Poor | Moderate | Short raids |
Hardened Steel | Poor | High | Disposable armor |
Ceramic | Very Poor | High | Avoid regular use |
Aluminum | Moderate | Moderate | Budget endgame options |
Pro Tip: Aramid and Polyethylene armors cost less to repair over multiple raids.
Build 1: The Budget Scavenger (~80K–120K Bonds)
For new players, economy runs, or learning new maps. Prioritizes low cost and decent protection.
Loadout
Slot | Item | Tier | Reason |
|---|---|---|---|
Weapon | AK-74N / SKS | N/A | Cheap, reliable, uses 7.62x39mm |
Armor | 6B23 Body Armor | 4 | Hardened Steel, durable, cheap |
Helmet | SH12 Military Helmet | N/A | Affordable, decent ricochet |
Headset | M32 Tactical Headset | N/A | Basic sound amplification |
Backpack | Simple / Canvas Backpack | N/A | 8–9 slots, minimal weight |
Rig | Sentry 305 / Basic Chest Rig | N/A | Mag + grenade slots |
Medical Loadout
- 1x E3 Military Medkit
- 2x OPM Bandages
- 1x Standard Military Surgical Kit
- 2x Liquid Painkillers
When to Run: Learning maps, low PvP traffic, early-game tasks.
Pros: Low risk, profitable, good learning tool.
Cons: Vulnerable to high-tier ammo, limited carrying, basic audio awareness.
Build 2: The Balanced Operator (~250K–350K Bonds)
Sweet spot for most players: solid protection, mobility, and audio clarity.
Loadout
Slot | Item | Tier | Reason |
|---|---|---|---|
Weapon | AK-102 / HK416 | N/A | Controllable recoil, meta choice |
Armor | 926 Composite Body Armor | 5 | Durable, minimal speed penalty |
Helmet | FA Assault Tactical Helmet | N/A | Good coverage, low sound blocking |
Headset | Commander A Tactical Headset | N/A | Excellent audio clarity |
Backpack | Rush Tactical Backpack | N/A | 24 slots, lightweight |
Rig | AL Tactical Rig / Warrior Rig | 5–6 | Armor + storage balance |
Medical Loadout
- 1x 100D Battlefield Medkit
- 3x OPM Bandages
- 1x STO Battlefield Surgical Set
- 2x EX Painkillers
- 1x Regen Booster
When to Run: PvP-heavy maps, duo/squad raids, mid-game tasks.
Pros: Competitive, balanced, profitable.
Cons: Losses expensive, Tier 6 ammo threat.
Build 3: The Endgame Juggernaut (~600K–900K+ Bonds)
For high-stakes PvP: maximum protection and firepower at the cost of mobility.
Loadout
Slot | Item | Tier | Reason |
|---|---|---|---|
Weapon | HK416 / P90 | N/A | Top DPS with mods |
Armor | BT101 Tactical Body Armor | 6 | Ceramic, minimal speed penalty |
Helmet | SH65 Military Helmet | N/A | Tier 6 face shield, excellent ricochet |
Headset | Commander A Tactical Headset | N/A | Best audio |
Backpack | 926 Field Backpack | N/A | 40 slots for long raids |
Rig | AL Tactical Rig | 6 | Tier 6 protection + storage |
Medical Loadout
- 1x STO First Aid Set
- 1x 100D Battlefield Medkit
- 4x OPM Bandages
- 1x STO Battlefield Surgical Set
- 2x EX Painkillers
- 1x Strength Booster
- 1x Endurance Booster
When to Run: High-stakes raids, rare loot, competitive play.
Pros: Survivable, can dominate fights.
Cons: High repair costs, slow movement, risky solo.
Gear Progression Path
Stage | Stash Value | Build | Focus |
|---|---|---|---|
1 | 0–500K | Budget | Learn maps, build fundamentals |
2 | 500K–2M | Budget + occasional Balanced | PvP, audio cues, weapon practice |
3 | 2M–5M | Balanced Operator | Consistent profit, squad play |
4 | 5M–10M | Balanced + Endgame mix | High-stakes raids, boss fights |
5 | 10M+ | Endgame Juggernaut | Domination, competitive |
Pro Tip: Master Stage 3 before jumping to Endgame builds.
Common Gear Mistakes
- Mixing Tier 6 armor with a budget weapon
- Ignoring headsets
- Carrying excessive medical items
- Using ceramic armor in regular raids
- Forgetting ergonomics penalties
FAQs
Best beginner loadout? Budget Scavenger.
Tier 6 armor worth it? Only with large stash and PvP focus.
Most important gear? Headset — awareness beats armor.
Making money with good gear? Run Balanced, focus on loot extraction.
Market vs traders? Traders for fixed prices, flea market for rare items.
Best map per build? Budget: Farm/Valley; Balanced: Northridge/TV Station; Endgame: Lockdown.
Final Thoughts
The best gear matches your skill, stash, and raid goals. Start with Budget, progress to Balanced, then Endgame. Master the maps and audio cues before heavy investment.
Top up your Bonds at TOPUPlive to gear up safely.
Lucy Lauria
Game writer
I spend most of my time exploring game worlds, testing new features, and learning how different systems work. Through my writing, I aim to share useful insights, helpful strategies, and clear guides that make games more enjoyable for everyone.

Related products
Related News
Where Winds Meet Echo Beads Top Up Guide: Prices, Cheapest Place & How to Buy
PUBG Mobile Lite Top Up Guide: How to Recharge BattleCoin at a Better Price
Where Winds Meet Fragrant Orchid Battle Pass: Rewards, Price & Top Up Guide
Where Winds Meet Battle Pass Guide: Rewards, Elite vs Premium, How to Unlock & Is It Worth It?
MLBB August StarLight 2026: Badang Leo Returns & New Aulus Skin Released
Wuwa Qingxiao Build Guide: Kit, Eco Sets, Weapon & Team
NBA Infinite Beginner' s Guide: Mastering the Court, Roster, and Currency
Pokémon GO GO Pass Guide: Rewards, Leveling Methods, and Purchase Options