


Wuthering Waves 3.8 Tower of Adversity Guide: Buffs, Enemies, and Best Teams

2026-11-10 13:39:01
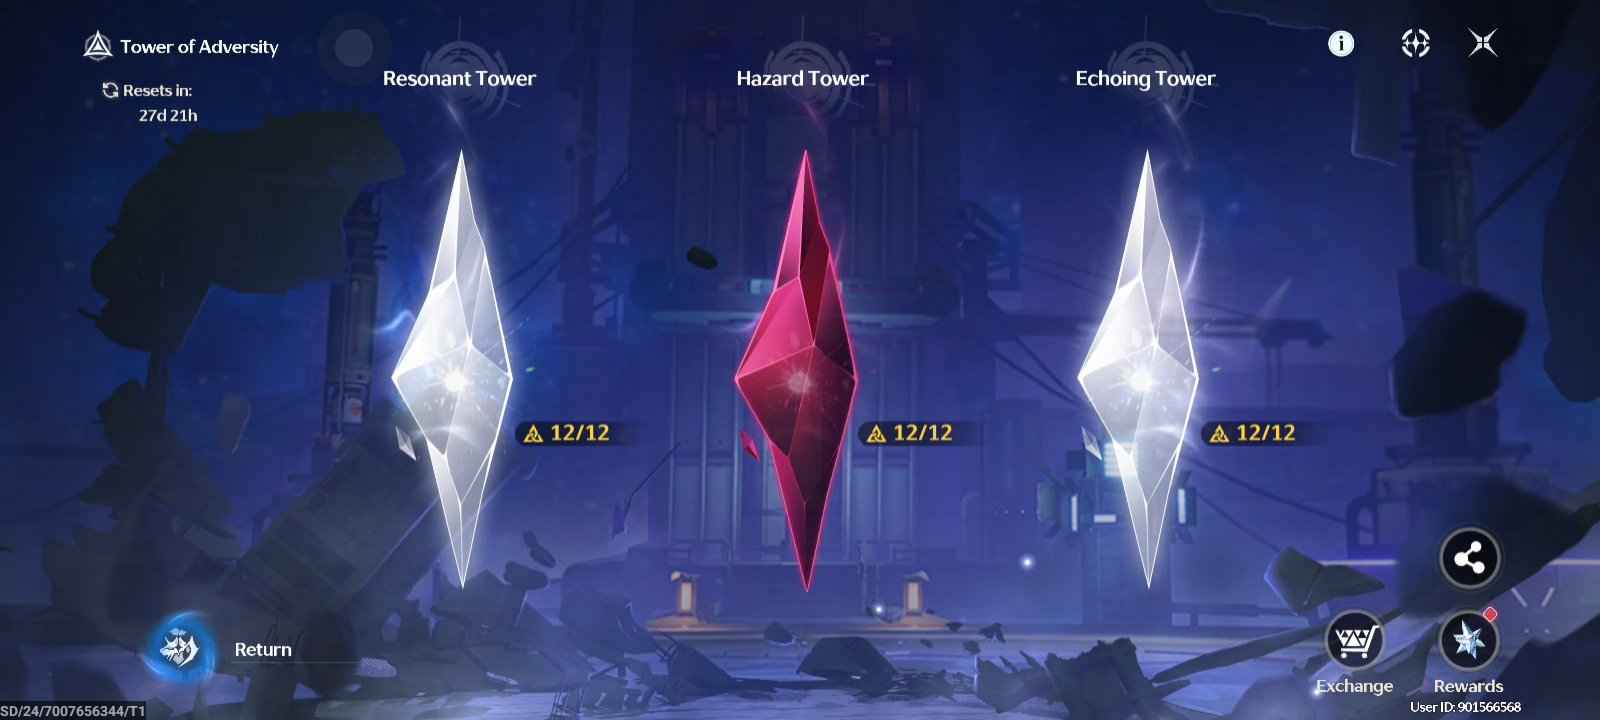
The November 9 Tower of Adversity reset brings a new rotation of enemies and combat modifiers to Wuthering Waves. This cycle features Fusion-focused buffs in the Resonant Tower, Glacio and Electro bonuses in the first half of the Hazard Tower, and Electro-oriented damage bonuses in its final floors. Choosing the right teams and managing Vigor will be essential for earning all available Crests.
Need more Astrites for upcoming Resonator banners? Top up Wuthering Waves on TOPUPlive to prepare your next Convene.



60 Lunites



Hsin Guaranteed Bundle

Signature Weapon Guaranteed Bundle

All-In-One Bundle
▍How Tower of Adversity Works
Tower of Adversity is one of the main endgame combat modes in Wuthering Waves. It challenges players to defeat increasingly powerful enemies within time limits while taking advantage of different Area Effects.
The mode consists of three main towers:
Tower | Main Features | Rotation |
|---|---|---|
Resonant Tower | Fusion RES reduction and Basic Attack bonuses | Permanent challenges |
Hazard Tower | High-level enemies and changing combat modifiers | Rotates periodically |
Echoing Tower | Spectro RES reduction and Negative Status bonuses | Permanent challenges |
The Hazard Tower is the most important part of each new rotation because its enemy lineups, combat effects, and rewards change periodically.
Vigor System
Tower of Adversity uses a Vigor system to limit how frequently the same Resonators can participate in different challenges.
- Every Resonator has a limited amount of Vigor.
- Completing a floor consumes Vigor based on its difficulty.
- Resonators with insufficient Vigor cannot enter another challenge.
- You can reset a completed floor to restore the Vigor spent on it, but doing so removes the corresponding clear progress and Crests.
For this reason, avoid using your strongest Resonators on easier floors when a weaker team can already secure the required Crests.
▍Wuthering Waves 3.8 Hazard Tower Floors 1–2
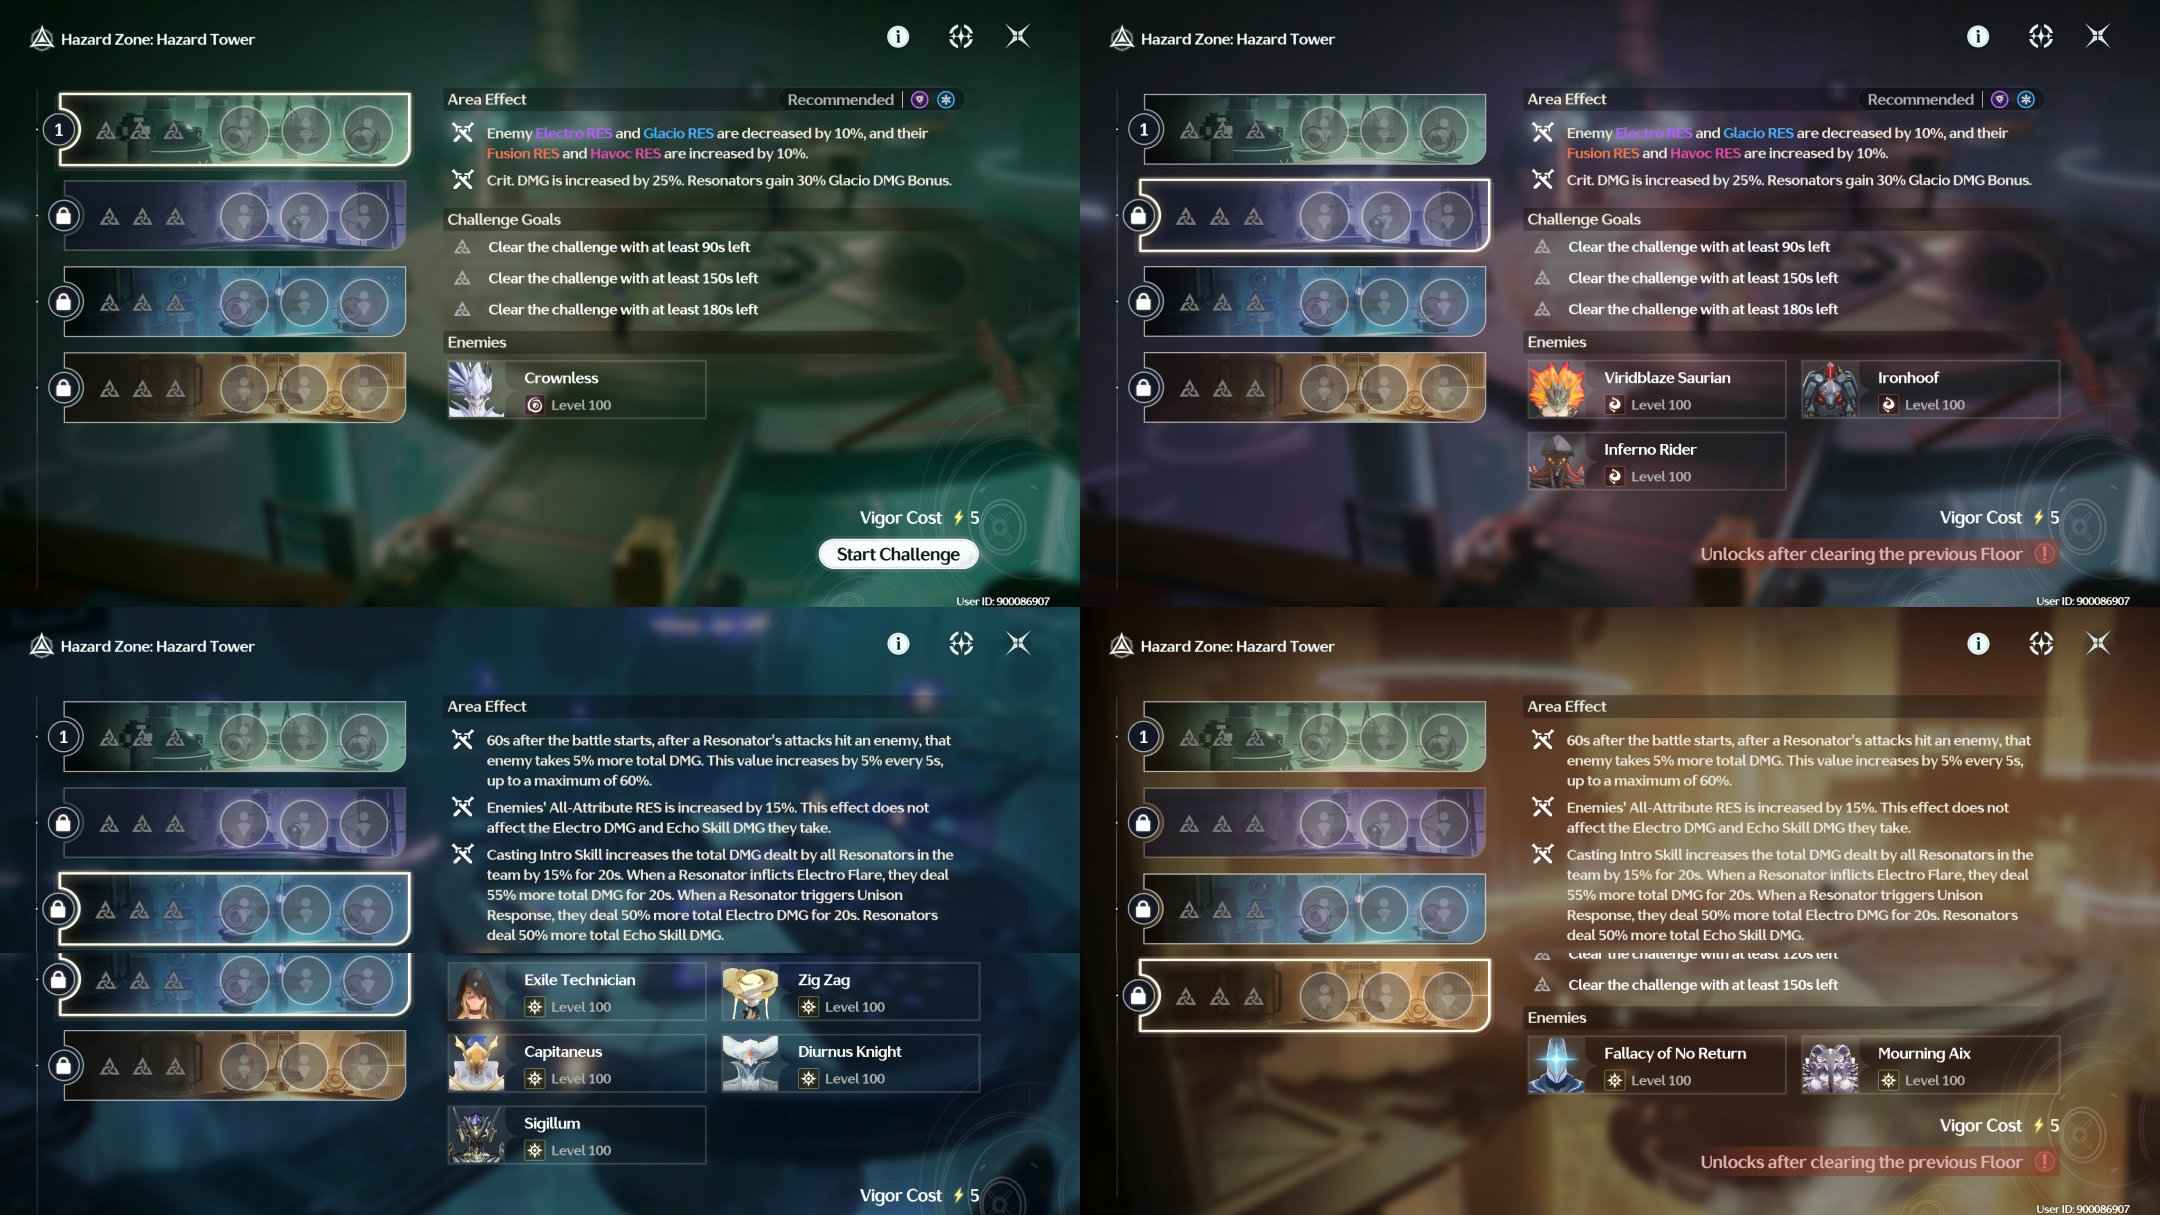
The first two Hazard Tower floors favor Glacio and Electro damage. Fusion and Havoc teams receive less favorable conditions, so consider switching to a Glacio or Electro DPS for this section.
Current Buffs
Combat Effect | Details |
|---|---|
Glacio RES Reduction | Enemy Glacio RES decreases by 10%. |
Electro RES Reduction | Enemy Electro RES decreases by 10%. |
Fusion RES Increase | Enemy Fusion RES increases by 10%. |
Havoc RES Increase | Enemy Havoc RES increases by 10%. |
Additional Elemental Modifier | Glacio and Electro RES decrease by another 10%, while Fusion and Havoc RES increase by another 10%. |
Damage Bonus | Resonators gain 30% Glacio DMG Bonus and 25% Crit. DMG. |
The most important consideration is elemental resistance. Glacio and Electro teams have a clear advantage, while Fusion and Havoc DPS characters may struggle to meet the damage check.
Glacio DPS characters benefit particularly well from the additional 30% Glacio DMG Bonus and 25% Crit. DMG.
Enemy Lineup
Floor | Enemy Level | Enemies | ||
|---|---|---|---|---|
Floor 1 | Lv. 100 |
Crownless | ||
Floor 2 | Lv. 100 |
Viridblaze Saurian |
Ironhoof |
Inferno Rider |
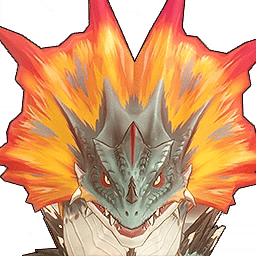
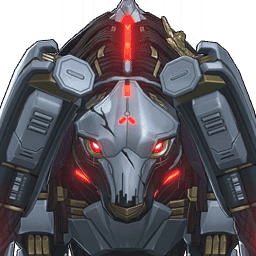
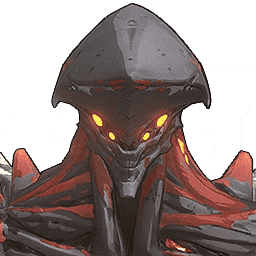
Floor 1 features Crownless as a single-target boss encounter. Focus on learning its attack patterns and maintaining consistent damage rather than wasting time on unnecessary dodging.
Floor 2 features three Fusion enemies. Since they share the same elemental resistance modifiers, Glacio and Electro DPS characters are recommended for this encounter.
Recommended Teams
Team 1 – Electro DPS Team
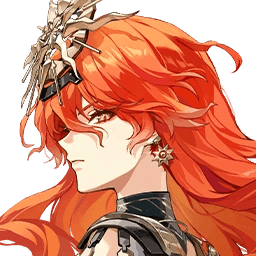


This team is a strong alternative for players who prefer Electro damage. The Electro RES reduction helps Augusta deal more damage, while Iuno and Shorekeeper provide additional offensive and supportive capabilities.
Team 2 – Alternative Glacio Team



If Chisa is unavailable or needed in another team, Suisui can serve as an alternative support option.
Combat Tips
- Prioritize Glacio and Electro damage dealers.
- Avoid using Fusion or Havoc DPS characters unless their investment is high enough to overcome the unfavorable resistance modifiers.
- Against Crownless, pay attention to its movement and attack patterns to avoid losing too much damage time.
- On Floor 2, use area damage and efficient rotations to deal with the three enemies without wasting your strongest abilities.
▍Wuthering Waves 3.8 Hazard Tower Floors 3–4
The final two Hazard Tower floors introduce a different set of combat modifiers. Unlike Floors 1–2, this section places much greater emphasis on Electro damage, Echo Skills, and Intro Skill rotations.
Both floors feature Lv. 100 enemies, making team investment and rotation efficiency particularly important.
Current Buffs
Combat Effect | Details |
|---|---|
All-Attribute RES | Enemies gain 15% All-Attribute RES, except against Electro DMG and Echo Skill DMG. |
Intro Skill Bonus | Casting an Intro Skill increases the total DMG dealt by all Resonators in the team by 15% for 20 seconds. |
Electro Flare Bonus | Inflicting Electro Flare increases the triggering Resonator's total DMG by 55% for 20 seconds. |
Unison Response Bonus | Triggering Unison Response increases total Electro DMG by 50% for 20 seconds. |
Echo Skill Bonus | Resonators deal 50% more total Echo Skill DMG. |
Progressive Damage Bonus | Starting 60 seconds into battle, enemies take 5% more total DMG after being hit. This increases by 5% every 5 seconds, up to 60%. |
These modifiers make the final two floors especially suitable for Electro-focused teams and characters that can consistently trigger Echo Skills.
The 15% All-Attribute RES increase makes ordinary elemental damage less effective. However, Electro DMG and Echo Skill DMG are explicitly excluded from this resistance increase.
The additional Electro Flare and Unison Response bonuses also make it worthwhile to prioritize teams that can activate these mechanics consistently.
Enemy Lineup
Floor | Enemy Level | Enemies | ||
|---|---|---|---|---|
Floor 3 | Lv. 100 |
Exile Technician
Diurnus Knight |
Zig Zag
Sigillum |
Capitaneu |
Floor 4 | Lv. 100 |
Fallacy of No Return |
Mourning Aix | |

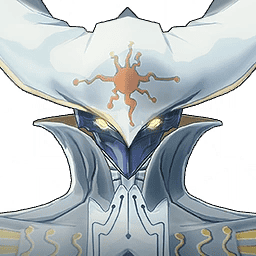
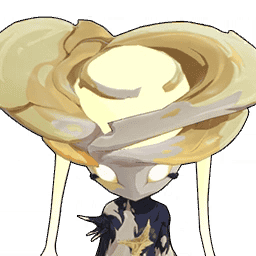
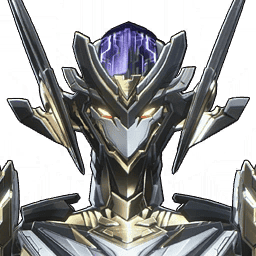


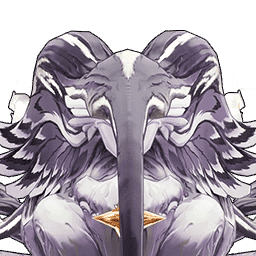
Floor 3 features multiple enemies, making area damage and efficient enemy control valuable. Try to group enemies together before activating your main damage rotation.
Floor 4 features two bosses. Since both encounters require consistent damage against high-level targets, prepare a team with reliable single-target damage and sufficient survivability.
Recommended Teams
Team 1 – Electro-Focused Team
|
Suoming |
|
|---|

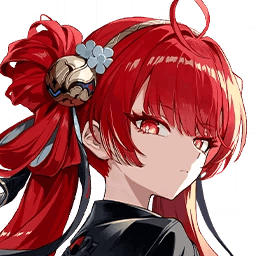

This team is an option for players with a well-built Electro-oriented damage setup. Prioritize consistent Electro damage and make use of the additional damage bonuses provided by the current modifiers.
Team 2 – Echo Skill-Oriented Team

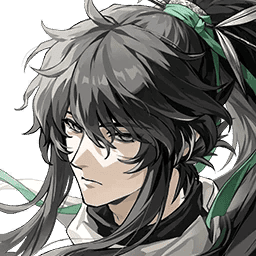
Use a character who deals a significant portion of their damage through Echo Skills, supported by teammates who can maintain Intro Skill buffs.
This is a useful alternative if your strongest Electro team is needed elsewhere.
Combat Tips
- Prioritize Electro DMG and Echo Skill DMG because they bypass the additional All-Attribute RES modifier.
- Trigger Intro Skills regularly to maintain the team's 15% total DMG bonus.
- Make full use of Electro Flare and Unison Response when your team supports these mechanics.
- The progressive damage bonus becomes increasingly valuable after 60 seconds. If your team cannot clear the stage immediately, prioritize survival and consistent attacks rather than taking unnecessary risks.
- Save your strongest burst windows for the bosses' vulnerable periods.
▍Wuthering Waves 3.8 Echoing Tower
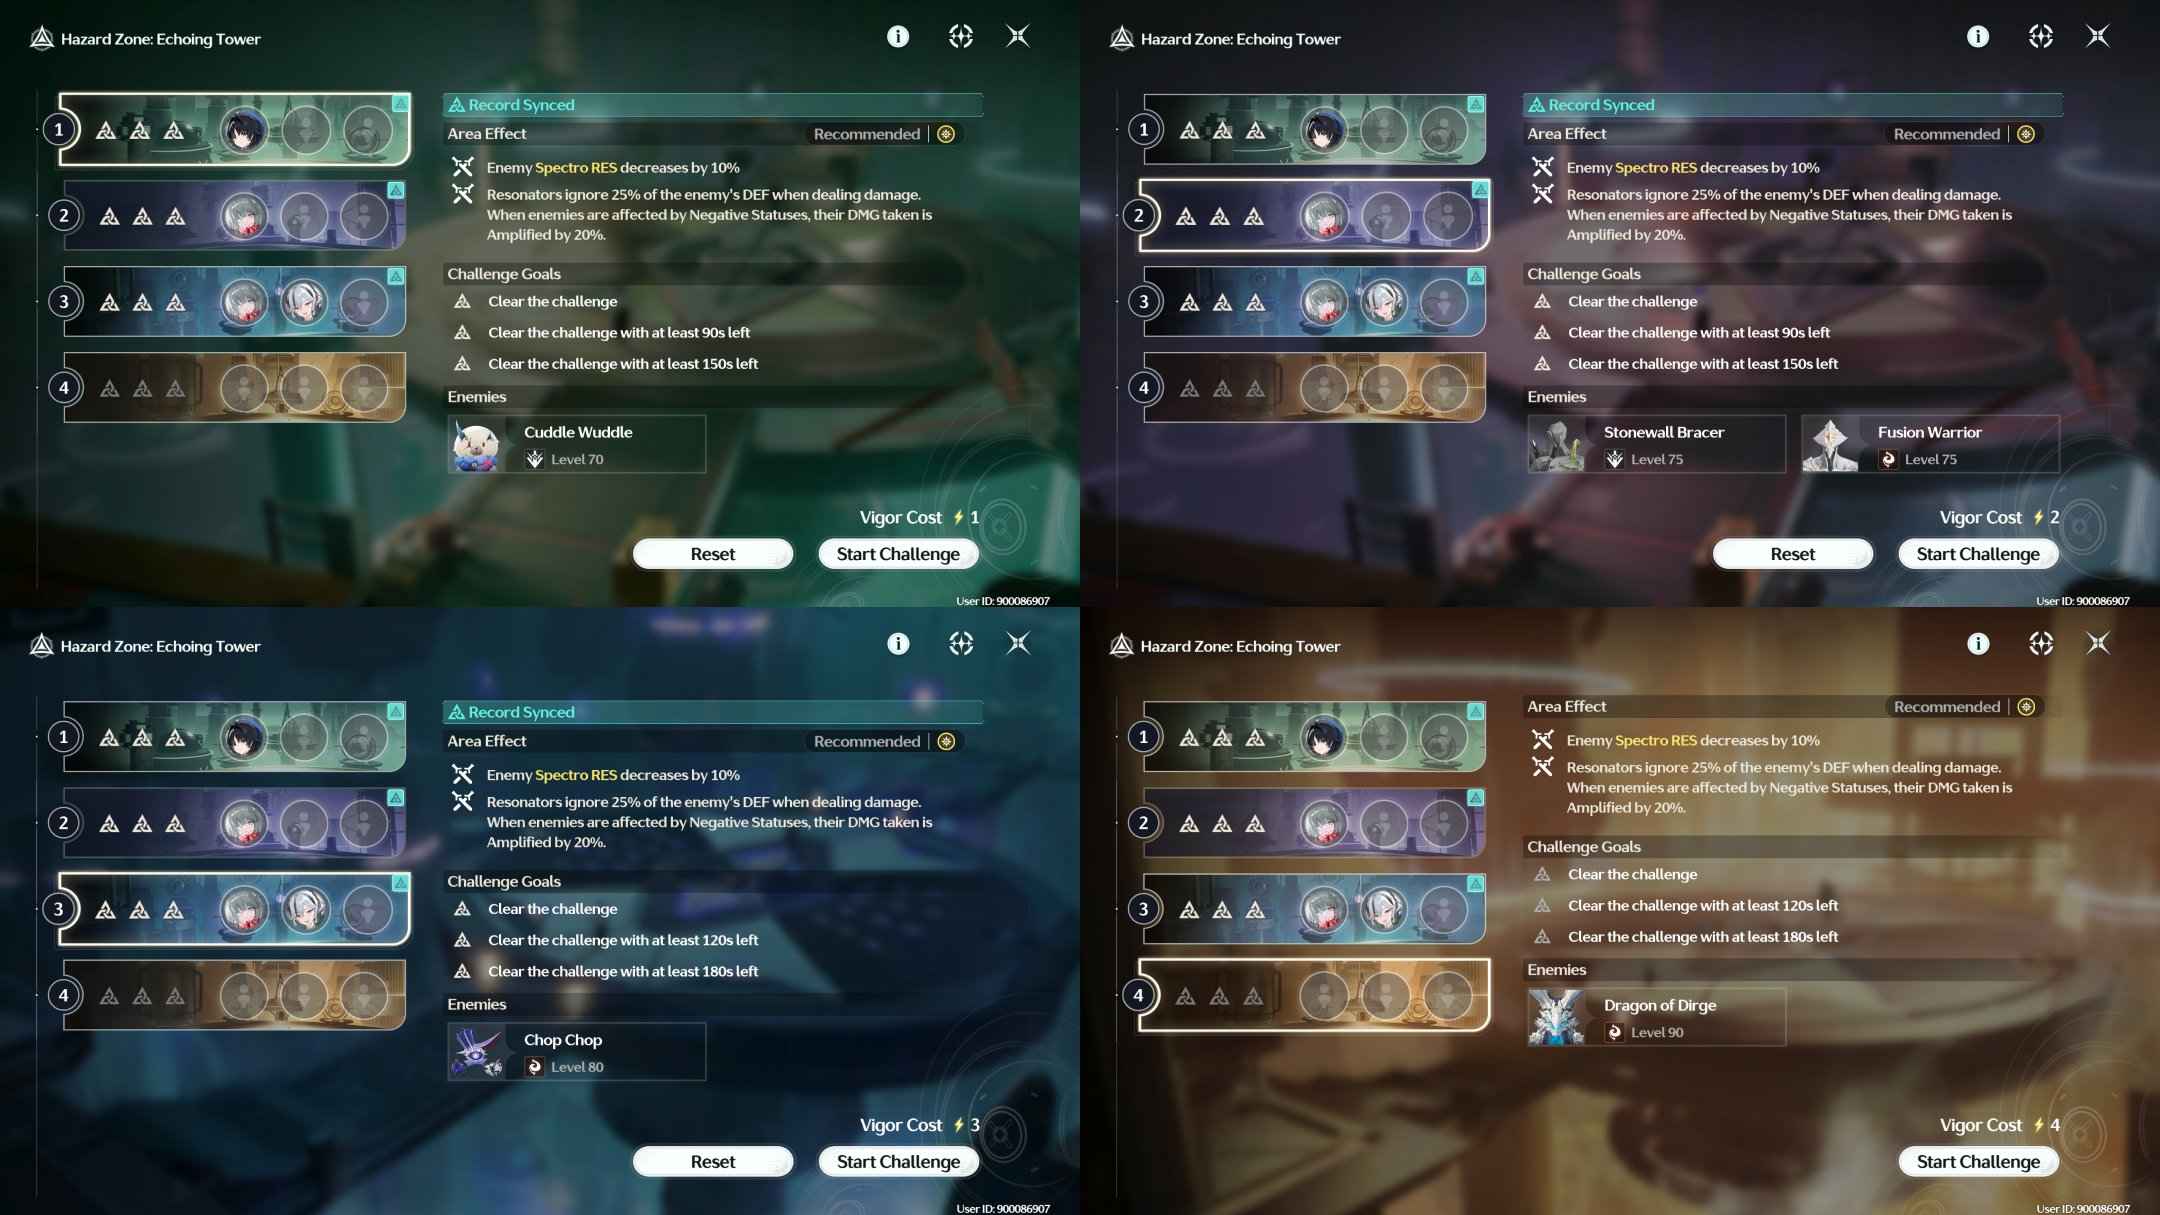
The Echoing Tower focuses on Spectro damage and Negative Status effects. Its modifiers reward teams that can apply debuffs consistently while maintaining strong damage output.
Current Buffs
Combat Effect | Details |
|---|---|
Spectro RES Reduction | Enemy Spectro RES decreases by 10%. |
DEF Ignore | Resonators ignore 25% of enemy DEF when dealing damage. |
Negative Status Bonus | Enemies affected by Negative Statuses take 20% more damage. |
These modifiers make the Echoing Tower particularly suitable for Spectro DPS characters and teams that can reliably apply Negative Status effects.
The 25% DEF ignore is also useful for a wide range of damage dealers, making this tower less restrictive than the elemental-specific Hazard Tower.
Enemy Lineup
Floor | Enemy Level | Enemies | |
|---|---|---|---|
Floor 1 | Lv. 70 |
Cuddle Wuddle | |
Floor 2 | Lv. 75 |
Stonewall Bracer |
Fusion Warrior |
Floor 3 | Lv. 80 |
Chop Chop | |
Floor 4 | Lv. 90 |
Dragon of Dirge | |

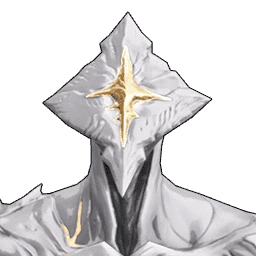
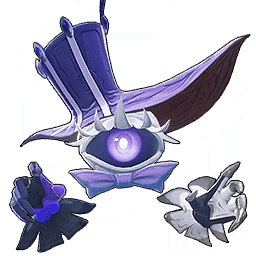
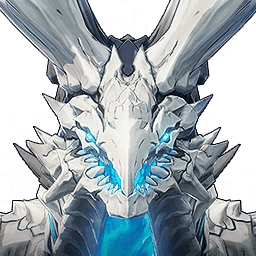
The first three floors are relatively straightforward compared with the Lv. 100 Hazard Tower encounters.
Floor 4 features Dragon of Dirge, which requires more consistent damage and efficient rotations.
Recommended Teams
Team 1 – Spectro DPS Team
Use your strongest Spectro DPS with two supports capable of increasing overall damage. The 10% Spectro RES reduction makes this a natural choice for the tower.
Team 2 – Negative Status Team
Choose a DPS and teammates who can consistently apply Negative Status effects. The additional 20% damage taken by affected enemies provides a significant offensive advantage.
Team 3 – General High-Damage Team
If you do not have a dedicated Spectro or Negative Status team, a well-built hypercarry composition can still clear these floors. The 25% DEF ignore benefits a broad range of characters.
Combat Tips
- Apply Negative Status effects before using your main damage rotation.
- Spectro DPS characters can take advantage of the additional resistance reduction.
- Avoid wasting too much time on low-level enemies during the early floors.
- Save your strongest team for Dragon of Dirge if your account has limited character investment.
▍Wuthering Waves 3.8 Resonant Tower
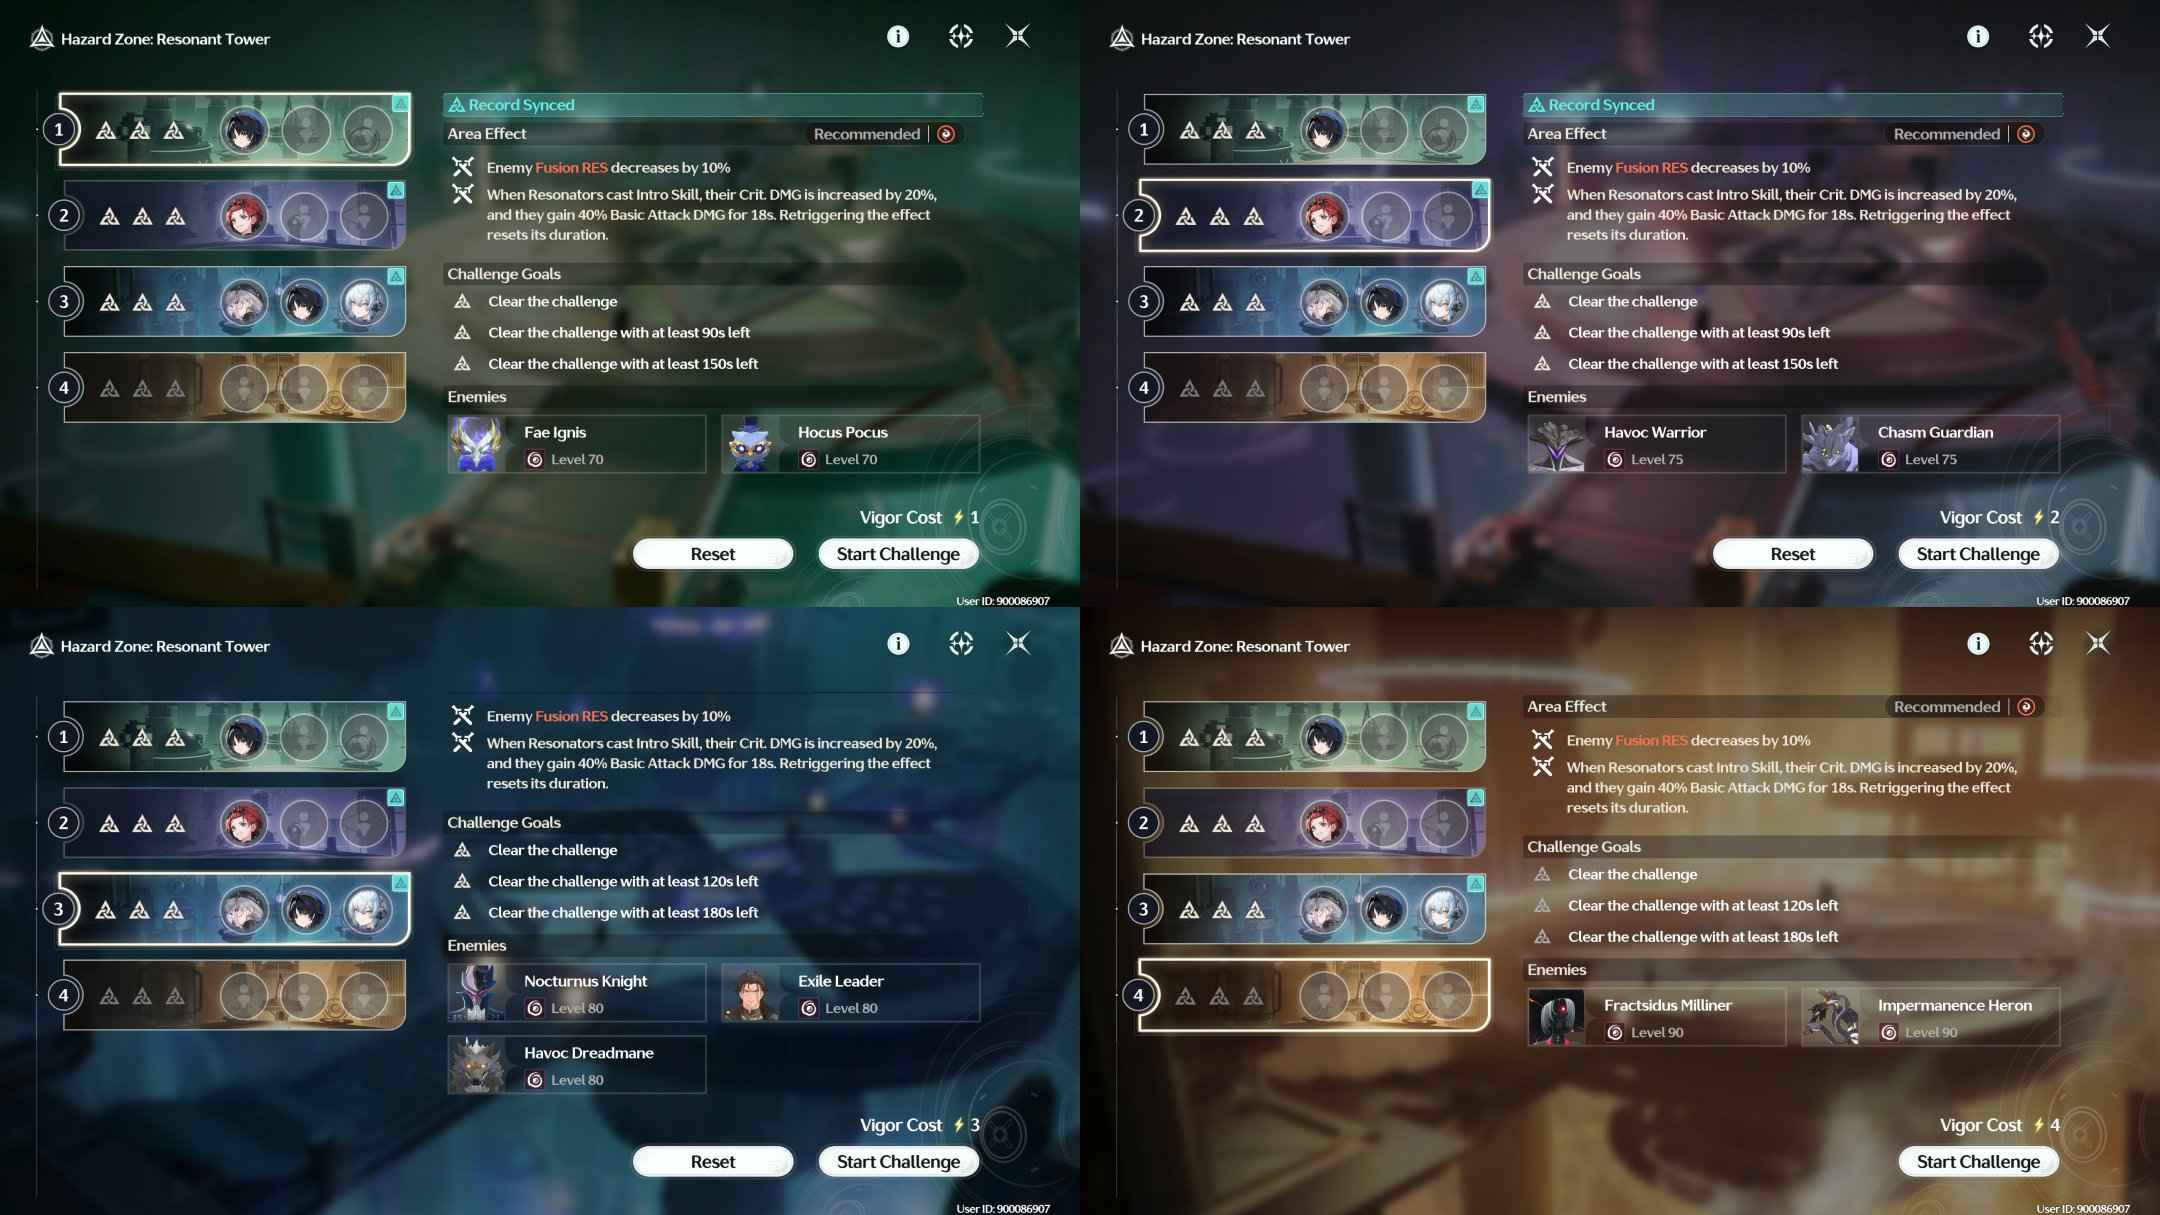
The Resonant Tower is the left section of Tower of Adversity. Unlike the rotating Hazard Tower, its challenges provide permanent rewards. The November 9 rotation features Fusion RES reduction and a powerful Basic Attack DMG bonus, making Fusion-focused teams and characters with frequent Intro Skill rotations particularly effective.
Current Buffs
Combat Effect | Details |
|---|---|
Fusion RES Reduction | Enemy Fusion RES decreases by 10%. |
Intro Skill Bonus | Casting an Intro Skill increases the Resonator's Crit. DMG by 20% and Basic Attack DMG by 40% for 18 seconds. |
Duration Refresh | Triggering the effect again resets its duration. |
The most important modifier is the 40% Basic Attack DMG bonus. Characters who rely heavily on Basic Attack DMG can benefit significantly from this effect, while Fusion DPS characters gain additional value from the 10% Fusion RES reduction.
To maximize the buff, use Intro Skills regularly and maintain a smooth rotation between team members.
Enemy Info
Floor | Enemy Level | Enemies | ||
|---|---|---|---|---|
Floor 1 | Lv. 70 |
Fae Ignis |
Hocus Pocus | |
Floor 2 | Lv. 75 |
Havoc Warrior |
Chasm Guardian | |
Floor 3 | Lv. 80 |
Nocturnus Knight |
Exile Leader |
Havoc Dreadmane |
Floor 4 | Lv. 90 |
Fractsidus Milliner |
Impermanence Heron | |
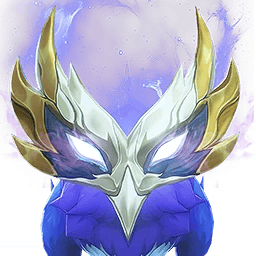

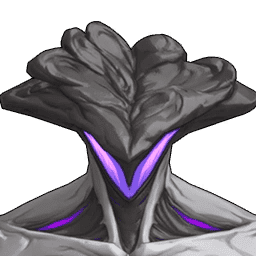
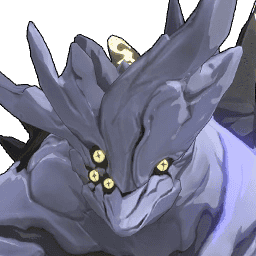
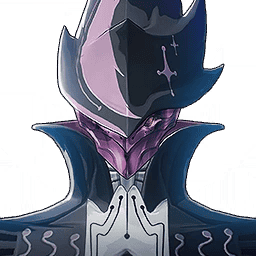

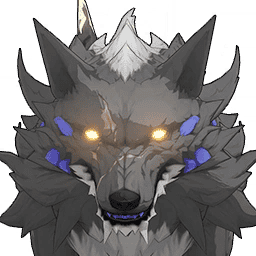
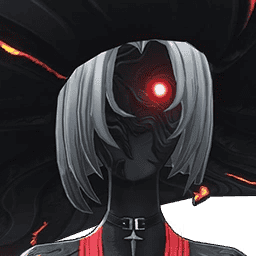
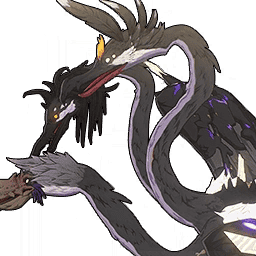
The first two floors are relatively straightforward, while Floors 3 and 4 require more consistent damage and efficient rotations.
Floor 4 is the most demanding encounter in this tower. Prepare a well-invested team and avoid wasting too much time on unnecessary dodging.
Recommended Teams
Team 1 – Aemeath Tune Rupture Team



This team offers strong overall damage through Tune Rupture synergy. Lynae and Mornye provide additional support for Aemeath, making it a good alternative for players who prefer her Tune Rupture setup.
Team 2 – General Fusion Alternative
Use a well-built Fusion DPS with Lupa and a suitable support. Prioritize characters with reliable damage output and rotations that can frequently activate Intro Skills.
Combat Tips
- Trigger Intro Skills regularly to maintain the 20% Crit. DMG and 40% Basic Attack DMG bonuses.
- Prioritize Fusion DPS characters to take advantage of the 10% Fusion RES reduction.
- Use grouping abilities and area damage to clear the multiple-enemy encounters efficiently.
- Save your strongest damage rotations for Floor 4.
- Avoid spending premium team resources on the first two floors if lower-investment characters can secure the required Crests.
▍Best Tower of Adversity Teams in Version 3.8
Choosing teams based on the current combat modifiers is more important than simply using the same three strongest teams for every floor.
Here is a summary of the recommended team archetypes for this cycle:
Tower | Recommended DPS Type | Key Characters | Main Advantage |
|---|---|---|---|
Resonant Tower | Fusion / Basic Attack | Aemeath, Lupa | Fusion RES reduction and Basic Attack DMG bonus |
Hazard Tower F1–2 | Glacio / Electro | Hiyuki, Augusta | Glacio and Electro damage bonuses |
Hazard Tower F3–4 | Electro / Echo Skill | Qingxiao and suitable Electro or Echo Skill DPS | Electro Flare, Unison Response, and Echo Skill bonuses |
Echoing Tower | Spectro / Negative Status | Your strongest Spectro and debuff-focused Resonators | DEF ignore and increased damage against debuffed enemies |
These are team-building directions rather than mandatory lineups. Character investment, weapon levels, Echo quality, and individual rotation execution can significantly affect your final clear time.
If you are short on Astrite for multiple Version 3.8 banners, TOPUPlive provides convenient Wuthering Waves top-up services to help you prepare resources before limited-time Convenes end.

▍FAQs About Wuthering Waves 3.7 Tower of Adversity
1. When Does the November 2026 Tower of Adversity Rotation End?
The current Tower of Adversity cycle runs from November 9 to December 7, 2026. Check the in-game countdown for the exact reset time on your server.
2. Which Characters Are Best for the November 9 Hazard Tower?
Hiyuki and Augusta are strong options for Floors 1–2 because of the Glacio and Electro bonuses. For Floors 3–4, prioritize Electro damage dealers and characters who can take advantage of Electro Flare, Unison Response, and Echo Skill bonuses.
3. Can I Use the Same Team for Every Tower?
No. Tower of Adversity uses a Vigor system that limits how often each Resonator can participate in different challenges. You should prepare multiple teams and distribute your characters according to each tower's difficulty and combat modifiers.
4. Is Fusion Damage Good in the Current Hazard Tower?
Fusion damage is not recommended for the first two Hazard Tower floors because enemies gain 10% Fusion RES, alongside another 10% increase from the additional elemental modifier. Glacio and Electro teams are generally better choices.
▍Conclusion
The Tower of Adversity rotation rewards players who can adapt their teams to different combat modifiers. Fusion and Basic Attack teams perform well in the Resonant Tower, Glacio and Electro characters have an advantage in the first two Hazard floors, and Electro or Echo Skill teams are valuable for the final encounters.
Build multiple teams, manage Vigor carefully, and make the most of each tower's buffs to maximize your rewards. Follow TOPUPlive for more Wuthering Waves guides, updates, and game news.

James Park
game writer
I focus on writing guides, tips, and strategy content for popular games. I specialize in breaking down complex systems and economy mechanics, helping players save time and currency while staying ahead of the latest updates and limited-time events.
Related products

Related News

Monster Hunter Outlanders Best Weapons: Weapon Tier List & Best Picks
Monster Hunter Outlanders Download & Install Guide: System Requirements & Download Size
Wuthering Waves 3.8 Pull Count: How Many Free Astrites and Pulls Can You Get?
Blood Strike Recoil Control Guide: How to Improve Your Aim
Honor of Kings Guan Yu New Skin: Triumphant Knight – Release Date and Details
VALORANT Snowfall 2.0 Bundle: Release Date, Skins, Price, and Everything We Know
AFK Journey Thane Build Guide: Best Teams, Skills, Exclusive Weapon & More
ZZZ Deadly Assault 3.3 Guide: Best Teams, Bosses & Buffs