


Honkai: Star Rail Archer Build Guide: Best Light Cones, Relics, Materials, and Teams

2026-10-28 17:18:57
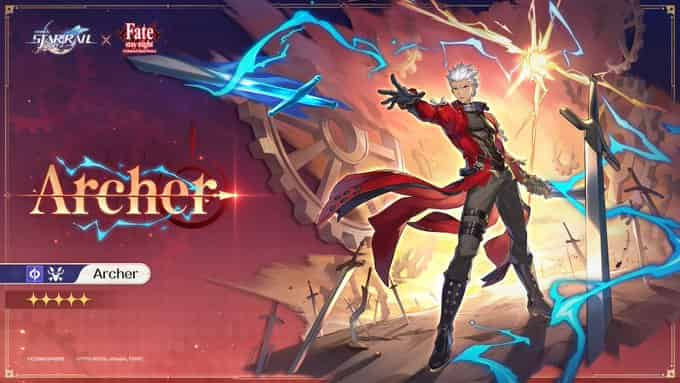
Archer is a 5★ Quantum character on the Path of the Hunt in Honkai: Star Rail, introduced through the Fate/stay night [Unlimited Blade Works] collaboration. His playstyle revolves around powerful single-target damage, repeated Skill casts, and Follow-Up ATKs that help recover Skill Points.
This guide covers Archer’s best Light Cones, Relics, Trace priorities, upgrade materials, and team compositions to help you maximize his damage. If you need more resources for your roster, visit TOPUPlive to top up Honkai: Star Rail.


Express Supply Pass
60 Oneiric Shard

300+30 Oneiric Shard

980+110 Oneiric Shard

▍Archer Character Overview
Archer is a single-target DPS who converts Skill Points into explosive damage. His Skill lets him attack repeatedly without immediately ending his turn, while each consecutive cast increases its damage. However, this mechanic also makes Skill Point management essential.
Character Overview | ||
|---|---|---|
Archer | Rarity | ★★★★★ |
Element |
Quantum | |
Path |
Hunt | |
Combat Role | Sub-DPS / Support | |



Archer is particularly effective against elite enemies and bosses. His high damage multipliers make him a strong choice for Memory of Chaos and Apocalyptic Shadow, although his single-target focus makes him less suitable for Pure Fiction.
His biggest strength is his ability to concentrate a large amount of damage into one turn. His main weakness is the heavy Skill Point cost required to reach his strongest attacks.
▍Archer Skill Breakdown
Basic ATK — Kanshou and Bakuya
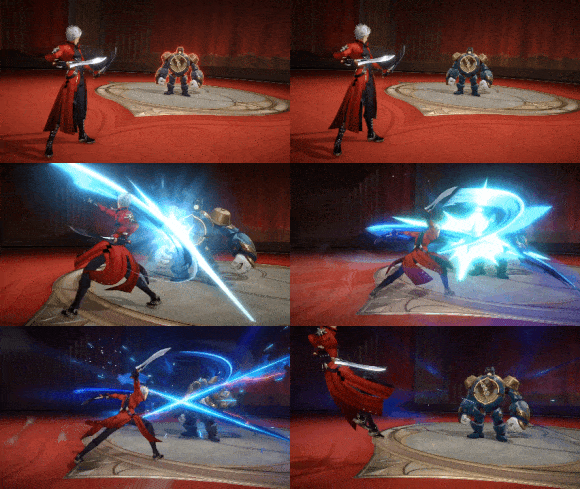
Archer deals Quantum DMG to one enemy. His Basic ATK is not his primary damage source, but it can help conserve Skill Points when the team needs to prepare for his next damage window.
Use it when the team has insufficient Skill Points to support Archer's full Skill sequence.
Skill — Caladbolg II: Fake Spiral Sword
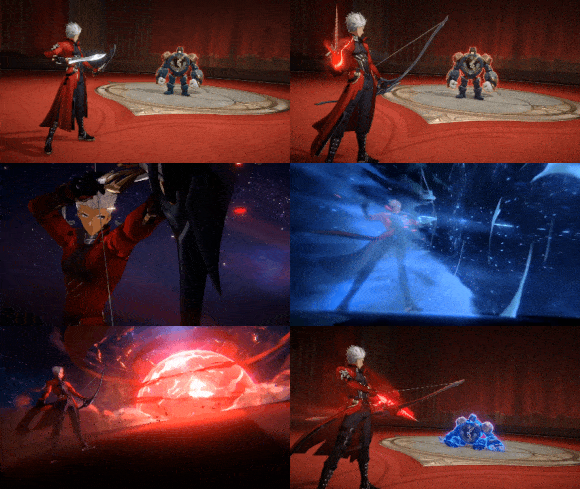
Archer's Skill is the foundation of his damage rotation.
When he first uses it, Archer enters the Circuit Connection state and attacks a single enemy. Subsequent Skill casts during this state do not immediately end his turn and increase the Skill's damage.
The damage bonus stacks up to two times, with the maximum bonus reached on the later casts. Archer can use his Skill up to five times in a turn, provided he has enough Skill Points.
However, each Skill cast consumes two Skill Points. If Archer reaches the usage limit or runs out of Skill Points, another Skill activation ends Circuit Connection. The state also ends when all enemies in the current wave have been defeated.
To get the most out of Archer:
- Save Skill Points before his turn.
- Use his repeated Skill casts to build up the damage bonus.
- Avoid spending Skill Points unnecessarily immediately before his damage window.
- Consider saving a few Skill Points for the next cycle if the current attack sequence cannot reach its strongest hits.
Archer's Skill has excellent damage potential, but using it without a plan can leave the entire team short of resources.
Ultimate — Unlimited Blade Works

Archer’s Ultimate deals powerful Quantum DMG to one target and restores two Charges, up to a maximum of four.
His Ultimate costs 220 Energy, but his repeated Skill casts help him generate Energy quickly. This allows him to use his Ultimate as an important part of his damage cycle rather than relying exclusively on his Skill.
Use the Ultimate when it can help finish a dangerous enemy, take advantage of available buffs, or restore Charges before the next sequence of Follow-Up ATKs.
▍Archer Trace Priority
Archer’s damage primarily comes from his Skill, so upgrading it should be your first priority.
Priority | Trace | Reason |
|---|---|---|
1 |
Skill | Main source of Archer’s damage |
2 |
Ultimate | Powerful single-target burst and Charge recovery |
3 |
Talent | Improves Follow-Up ATK damage and Skill Point recovery |
4 |
Basic ATK | Lowest priority for his standard rotation |




Major Trace Priority
Projection Magecraft (A2) increases the team’s maximum Skill Point limit by two while Archer is on the field. This is one of his most important upgrades because it allows the team to save more Skill Points for his burst turns.
Guardian (A6) increases Archer’s CRIT DMG by 120% for one turn when an ally gains a Skill Point while the team has at least four Skill Points. This is a substantial offensive bonus, so try to activate it before or during Archer’s main damage window.
Hero of Justice (A4) grants Archer one Charge when he enters battle, helping him prepare for additional Follow-Up ATKs.
Recommended priority: Projection Magecraft > Guardian > Hero of Justice.
▍Archer's Eidolons
Archer can perform his core role without Eidolons, making him a practical option for players who want a strong DPS without committing to multiple copies. His Eidolons improve Skill Point recovery, damage, and resistance penetration.
Eidolon | Main Effect | Priority |
|---|---|---|
E1 — The Unreached Dream | Recovers two Skill Points after Archer uses his Skill three times in one turn | High |
E2 — The Unfulfilled Happiness | Ultimate reduces the target’s Quantum RES by 20% and applies Quantum Weakness for two turns | High |
E3 — The Untamed Will | Increases Skill and Basic ATK levels | Medium |
E4 — The Unsung Life | Increases Ultimate DMG by 150% | Medium |
E5 — The Nameless Watch | Increases Ultimate and Talent levels | Low |
E6 — The Endless Pilgrimage | Restores one Skill Point at the start of his turn, adds another Skill damage-bonus stack, and lets his Skill ignore 20% of enemy DEF | High |
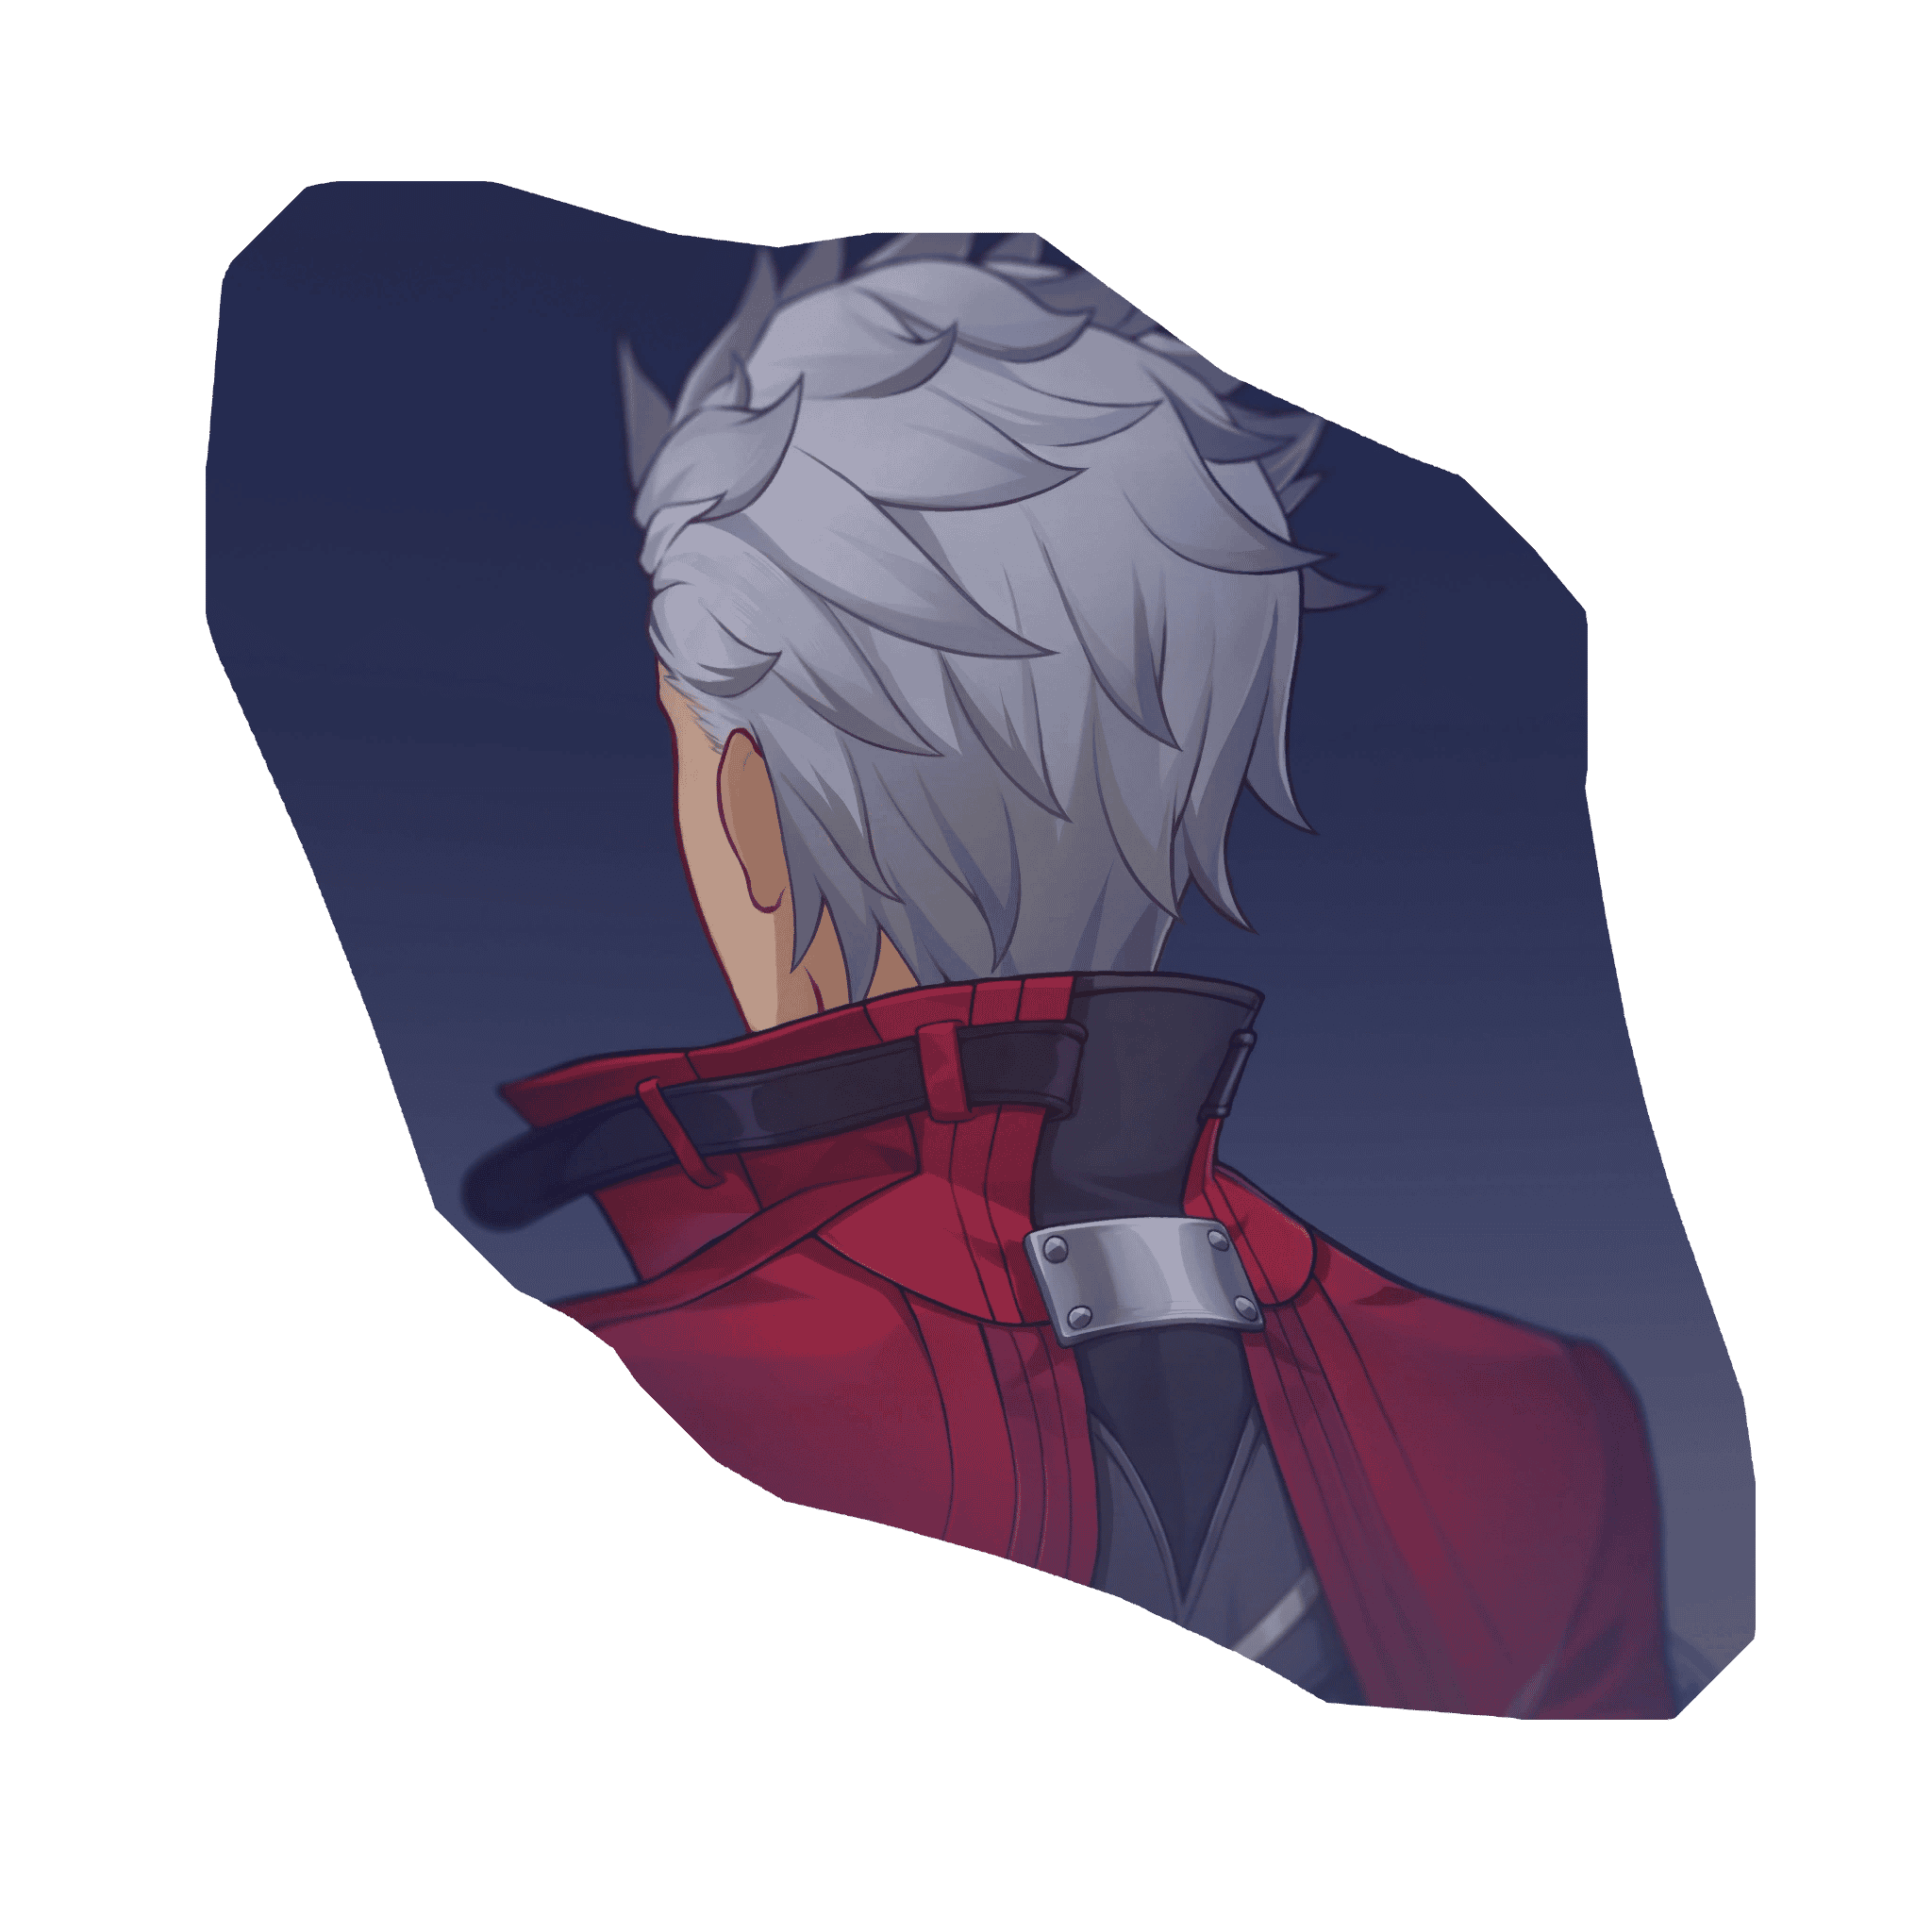



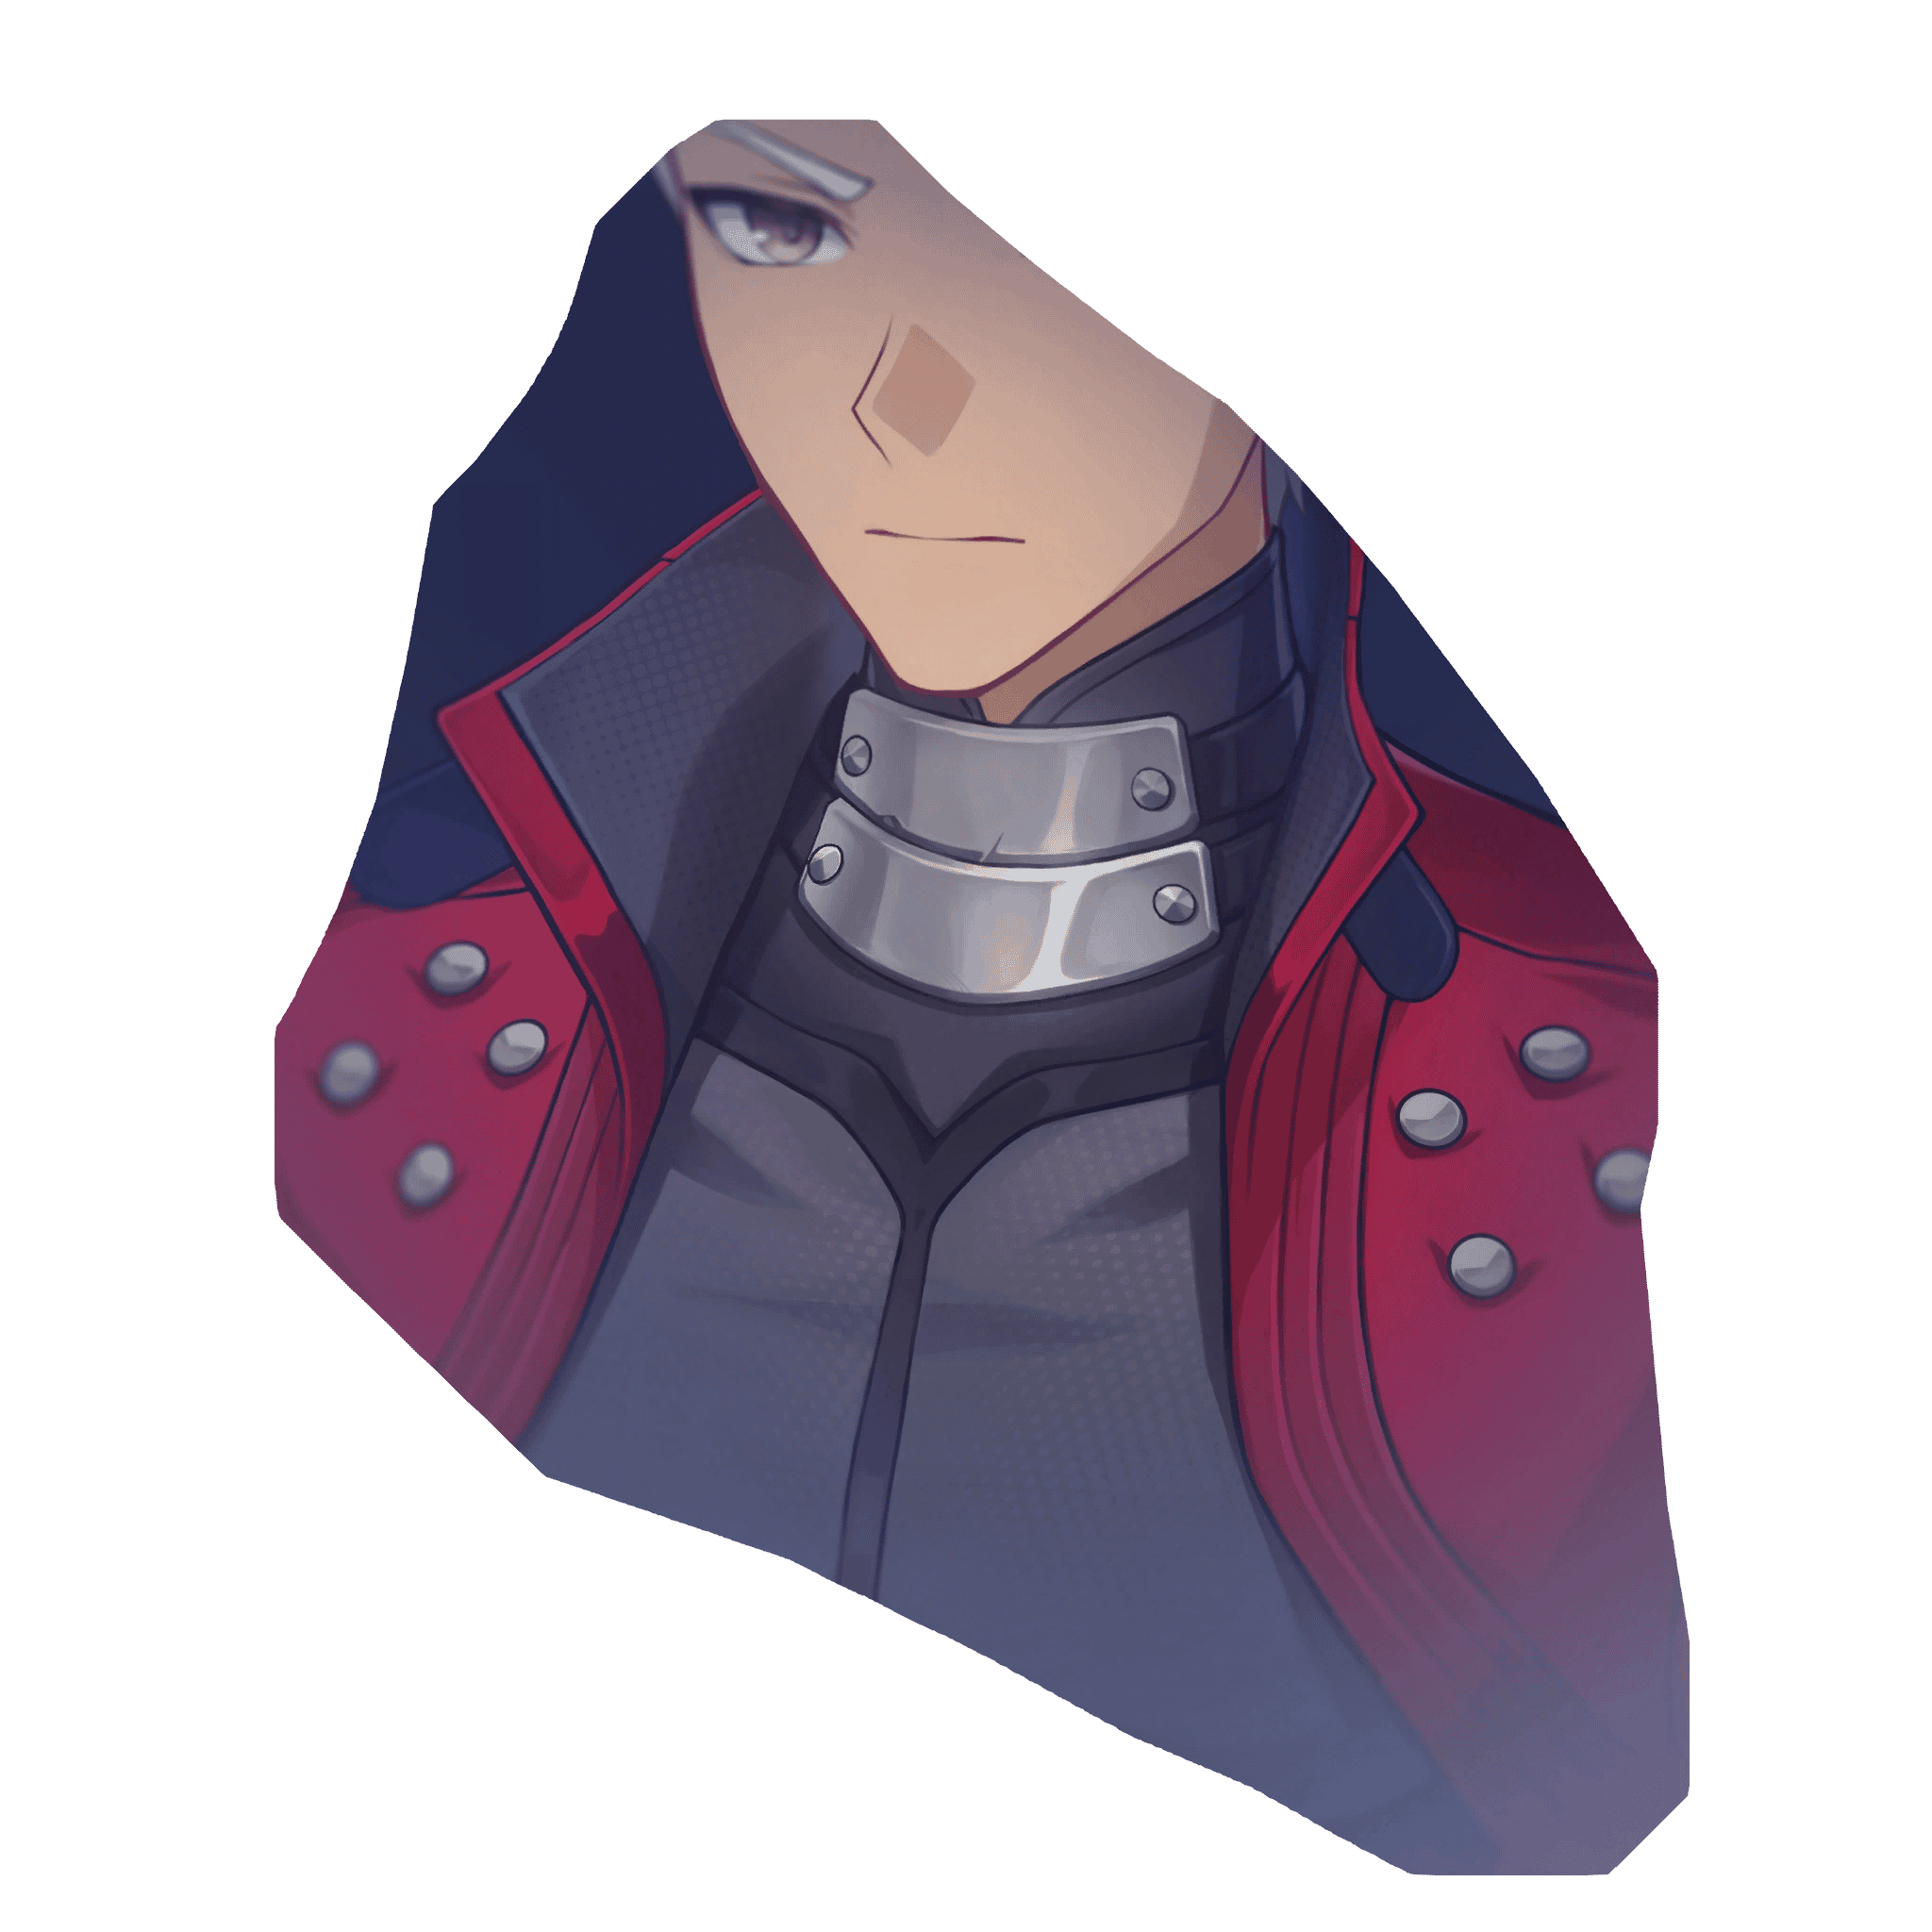

Recommended Eidolon Investment
E0 is a workable starting point. Archer's repeated Skill casts and Skill Point recovery mechanics already give him a distinct damage profile.
E1 is valuable because it helps offset the Skill Point cost of his main rotation. E2 offers a useful damage boost through Quantum RES reduction and Quantum Weakness application.
E6 provides a much larger investment ceiling, but it is not necessary for players who simply want to use Archer as their main DPS.
▍Best Light Cones for Archer
Archer benefits most from Light Cones that increase ATK and CRIT Rate, while bonuses to Skill DMG and Follow-Up ATK DMG can also improve his overall output.
The Hell Where Ideals Burn — Best Signature Light Cone
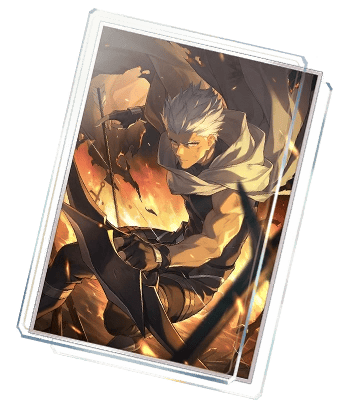
Archer's signature Light Cone is his most consistent option. It increases CRIT Rate and provides a substantial ATK bonus when the team's maximum Skill Point limit is high enough. Using Skills further increases the wearer's ATK, which fits Archer's repeated Skill-casting playstyle.
Its effects are particularly well suited to Archer because his kit naturally increases the team’s maximum Skill Point limit and encourages him to use multiple Skills in succession.
Cruising in the Stellar Sea — Best Free-to-Play Option

This Herta's Store Light Cone provides CRIT Rate and increases ATK after defeating an enemy. It is an accessible option for players who do not want to invest in a limited signature Light Cone.
However, its conditional bonuses require careful stat planning. Archer wants to approach 100% CRIT Rate during combat, so avoid wasting too much CRIT Rate through excessive overinvestment.
Still grinding hard but struggling to gather enough Oneiric Shards for your desired Characters and Light Cone? Head over to TOPUPlive now for streamlined Honkai: Star Rail top-up arrangements tailored for your in-game needs.

▍Best Relics and Planar Ornaments for Archer
Archer's Relic setup should focus on CRIT stats and ATK. Since his Skill consumes a large number of Skill Points and delivers most of his damage, sets that improve Skill DMG or provide strong general offensive bonuses are especially valuable.
Best Relic Set — Genius of Brilliant Stars

The four-piece Genius of Brilliant Stars set is one of Archer's strongest options against Quantum-weak enemies. It increases Quantum DMG-related offensive potential through DEF reduction, which can be especially valuable when combined with other sources of DEF reduction.
However, pay attention to your team's total DEF reduction. If Archer already receives substantial DEF reduction from his Light Cone, teammates, or Eidolons, the set's additional benefit may become less valuable.
Alternative Relic Set — As Navigator I See Sees It

The four-piece As Navigator I See Sees It set is a competitive alternative, particularly when Archer is already close to the DEF reduction limit or when enemies are not weak to Quantum.
It can be a practical choice if you have better main stats and substats on this set than on your Genius of Brilliant Stars pieces.
Alternative Relic Set — Poet of Mourning Collapse

The four-piece Poet of Mourning Collapse set is another option, particularly when Archer is played with Sparkle and does not need to build much SPD himself.
Its CRIT Rate bonus can help make his offensive stats easier to balance. Even if Archer cannot fully activate every part of the set, it remains a reasonable alternative when the pieces have strong substats.
Best Planar Ornament — Tengoku@Livestream

Tengoku@Livestream is a strong choice for Archer because its CRIT DMG bonus benefits his Skill, Ultimate, and Follow-Up ATKs. It is especially attractive for a character whose rotation consumes multiple Skill Points.
Alternative Planar Ornament — Rutilant Arena

Rutilant Arena is another competitive option. It provides CRIT Rate and increases Skill DMG when its conditions are met, directly supporting Archer's main damage source.
Choose between these sets based on your available pieces and final combat stats rather than set names alone.
Archer Relic Main Stats
Relic Piece | Recommended Main Stat |
|---|---|
Body | CRIT Rate |
Feet | ATK% |
Planar Sphere | ATK% or Quantum DMG% |
Link Rope | ATK% |
An ATK% Planar Sphere and a Quantum DMG% Sphere can both work. Compare their substats and your overall buffs before deciding which one gives you better results.
Recommended Substats
Prioritize the following:
CRIT Rate until approximately 100% in combat > CRIT DMG > ATK%
Archer's damage can be concentrated into a small number of powerful attacks, so consistent CRIT hits are particularly important. Once your combat CRIT Rate is sufficiently high, focus on improving CRIT DMG and ATK.
Recommended Endgame Stats
Stat | Target |
|---|---|
ATK | 2,800–3,200+ |
CRIT Rate | Around 100% after buffs |
CRIT DMG | 140–180%+ |
SPD | Base SPD can work well |
These are practical targets rather than strict requirements. Your final stats will depend on Light Cone effects, team buffs, Relic quality, and Eidolon level.
Archer generally does not need to chase high SPD if he is paired with an action-advancing support such as Sparkle. Improving his damage stats and ensuring the team can sustain his Skill Point consumption are often more important.
▍Archer Ascension and Trace Materials
Prepare Archer’s materials before investing heavily in his levels and Traces. The following table lists the materials required to raise him from Level 1 to Level 80.
Material | Quantity |
|---|---|
Credits | 308,000 |
Extinguished Core | 15 |
Glimmering Core | 15 |
Squirming Core | 15 |
Darkveil Moonlight | 65 |
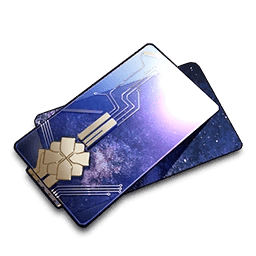




Darkveil Moonlight is Archer's character Ascension material. The three Core materials are obtained through Fragmentum-related enemies and other in-game sources.
Trace Materials
To fully upgrade Archer’s Traces, prepare the following material categories:
- Hunt Trace materials from the appropriate Crimson Calyx.
- Extinguished Core, Glimmering Core, and Squirming Core.
- Guardian's Lament.
- Tracks of Destiny.
- Credits.
The exact total depends on which Traces you choose to max out. If resources are limited, prioritize Archer's Skill first, followed by his Ultimate and Talent. This gives you a more efficient damage increase than immediately maxing every Trace.
▍Best Archer Teams
Archer needs a team that can do two things well: amplify his damage and maintain a healthy supply of Skill Points. Supports that recover Skill Points, increase the team’s maximum Skill Point limit, or provide powerful offensive buffs are particularly valuable.
Team 1: Archer + Rin Tohsaka + Sparkle + Gallagher
Archer |
|
Sparkle |
Gallagher |
|---|---|---|---|
Main DPS | Skill Point Support / Sub-DPS | Harmony Support / Skill Point Support | Sustain / Skill Point Generation |




This is a strong team built around Archer's Skill Point demands.
Sparkle increases the maximum Skill Point limit and can restore Skill Points with her Ultimate. Her CRIT DMG buffs also support Archer's main damage window.
Rin Tohsaka provides additional synergy with Archer, including offensive buffs and a Joint Follow-Up ATK that can help restore Skill Points. This makes the duo especially effective when you want to combine Archer’s repeated Skill casts with additional team damage.
Gallagher is a practical sustain choice because he can help generate Skill Points while keeping the team alive. Together, these characters make it easier for Archer to unleash multiple Skill casts without leaving the team unable to act afterward.
Team 2: Archer + Sparkle + Silver Wolf + Gallagher
Archer |
Silver Wolf |
Sparkle |
Gallagher |
|---|---|---|---|
Main DPS | DEF reduction / Weakness application | Harmony Support / Skill Point Support | Sustain / Skill Point Generation |

This team is a good alternative if you do not use Rin Tohsaka.
Silver Wolf helps improve Archer's damage through debuffs and Quantum Weakness application. Her debuffs can also help Archer take advantage of the Genius of Brilliant Stars Relic set.
Sparkle remains the key support for managing Archer's Skill Point needs, while Gallagher provides sustain and additional resource generation.
This setup is especially useful when fighting enemies that can benefit from Silver Wolf's Weakness application and DEF reduction.
Team-Building Priorities
When building an Archer team, prioritize these functions:
- Skill Point support: Sparkle is particularly valuable because she increases the Skill Point limit and restores Skill Points.
- Damage amplification: Rin Tohsaka, Silver Wolf, and Cipher can improve Archer’s damage through different mechanics.
- Sustain: Gallagher is a practical option when Skill Point generation is a concern.
- Turn management: Action-advancing supports can help Archer access his damage window more effectively, but make sure the team can still afford his repeated Skill casts.
Archer does not require one fixed team to function. The best lineup depends on the supports you own, the enemy’s weaknesses, and how reliably you can maintain enough Skill Points.
▍FAQs about Archer
1. What stats should I prioritize for Archer?
Prioritize CRIT Rate until you approach 100% during combat, followed by CRIT DMG and ATK%. Archer can often use base SPD when paired with supports such as Sparkle.
2. Is Sparkle necessary for Archer?
No, but Sparkle is one of his most valuable teammates. Her Skill Point capacity increase, Skill Point recovery, and CRIT DMG buffs make Archer’s high-cost Skill rotation easier to manage.
3. Is Archer good at E0?
Yes. Archer’s core gameplay and damage mechanics are available at E0. His Eidolons provide useful improvements, particularly E1’s Skill Point recovery and E2’s Quantum resistance reduction and Weakness application, but they are not required to use him.
4. What is Archer's main weakness?
Archer consumes large amounts of Skill Points to reach his strongest damage. He also focuses on single-target damage, which can make him less effective in AoE-heavy content. A team with good Skill Point generation and offensive support helps address these limitations.
▍Conclusion
Archer is a powerful single-target DPS in Honkai: Star Rail who rewards careful Skill Point management with explosive damage. Prioritize his Skill, build toward reliable CRIT stats, and pair him with supports such as Sparkle that can sustain his repeated attacks. With the right team, he can be a strong choice for boss-focused endgame content.
For more Honkai: Star Rail character guides, banner updates, and Oneiric Shards top-up options, visit TOPUPlive.

James Park
game writer
I focus on writing guides, tips, and strategy content for popular games. I specialize in breaking down complex systems and economy mechanics, helping players save time and currency while staying ahead of the latest updates and limited-time events.

Related products

Related News

Free Fire Tier List: Best Characters Ranked for 2026
Wuthering Waves Lunites Fully Explained: What It Is, Usage, Prices and More
Official Store vs TOPUPlive vs G2G vs Eneba vs Joytify: Which Wuthering Waves Top Up Center Is Better
Phantom Blade Zero Beginner's Guide: Combat Tips, Weapons, and Essential Advice
Blood Strike Ranked System Explained: How to Rank Up Faster
Delta Force Gun Tier List and Build Codes 2026: Best Weapons and Builds for Season 11
Stormshot Gift Codes October 2026 – Latest Working Codes & How to Redeem
VALORANT Grave Matters Capsule: Release Date, Contents, and Secret Gun Buddy Variant