


Honkai: Star Rail Acheron Build Guide: Best Light Cones, Relics, Materials, and Teams

2026-11-04 14:08:38

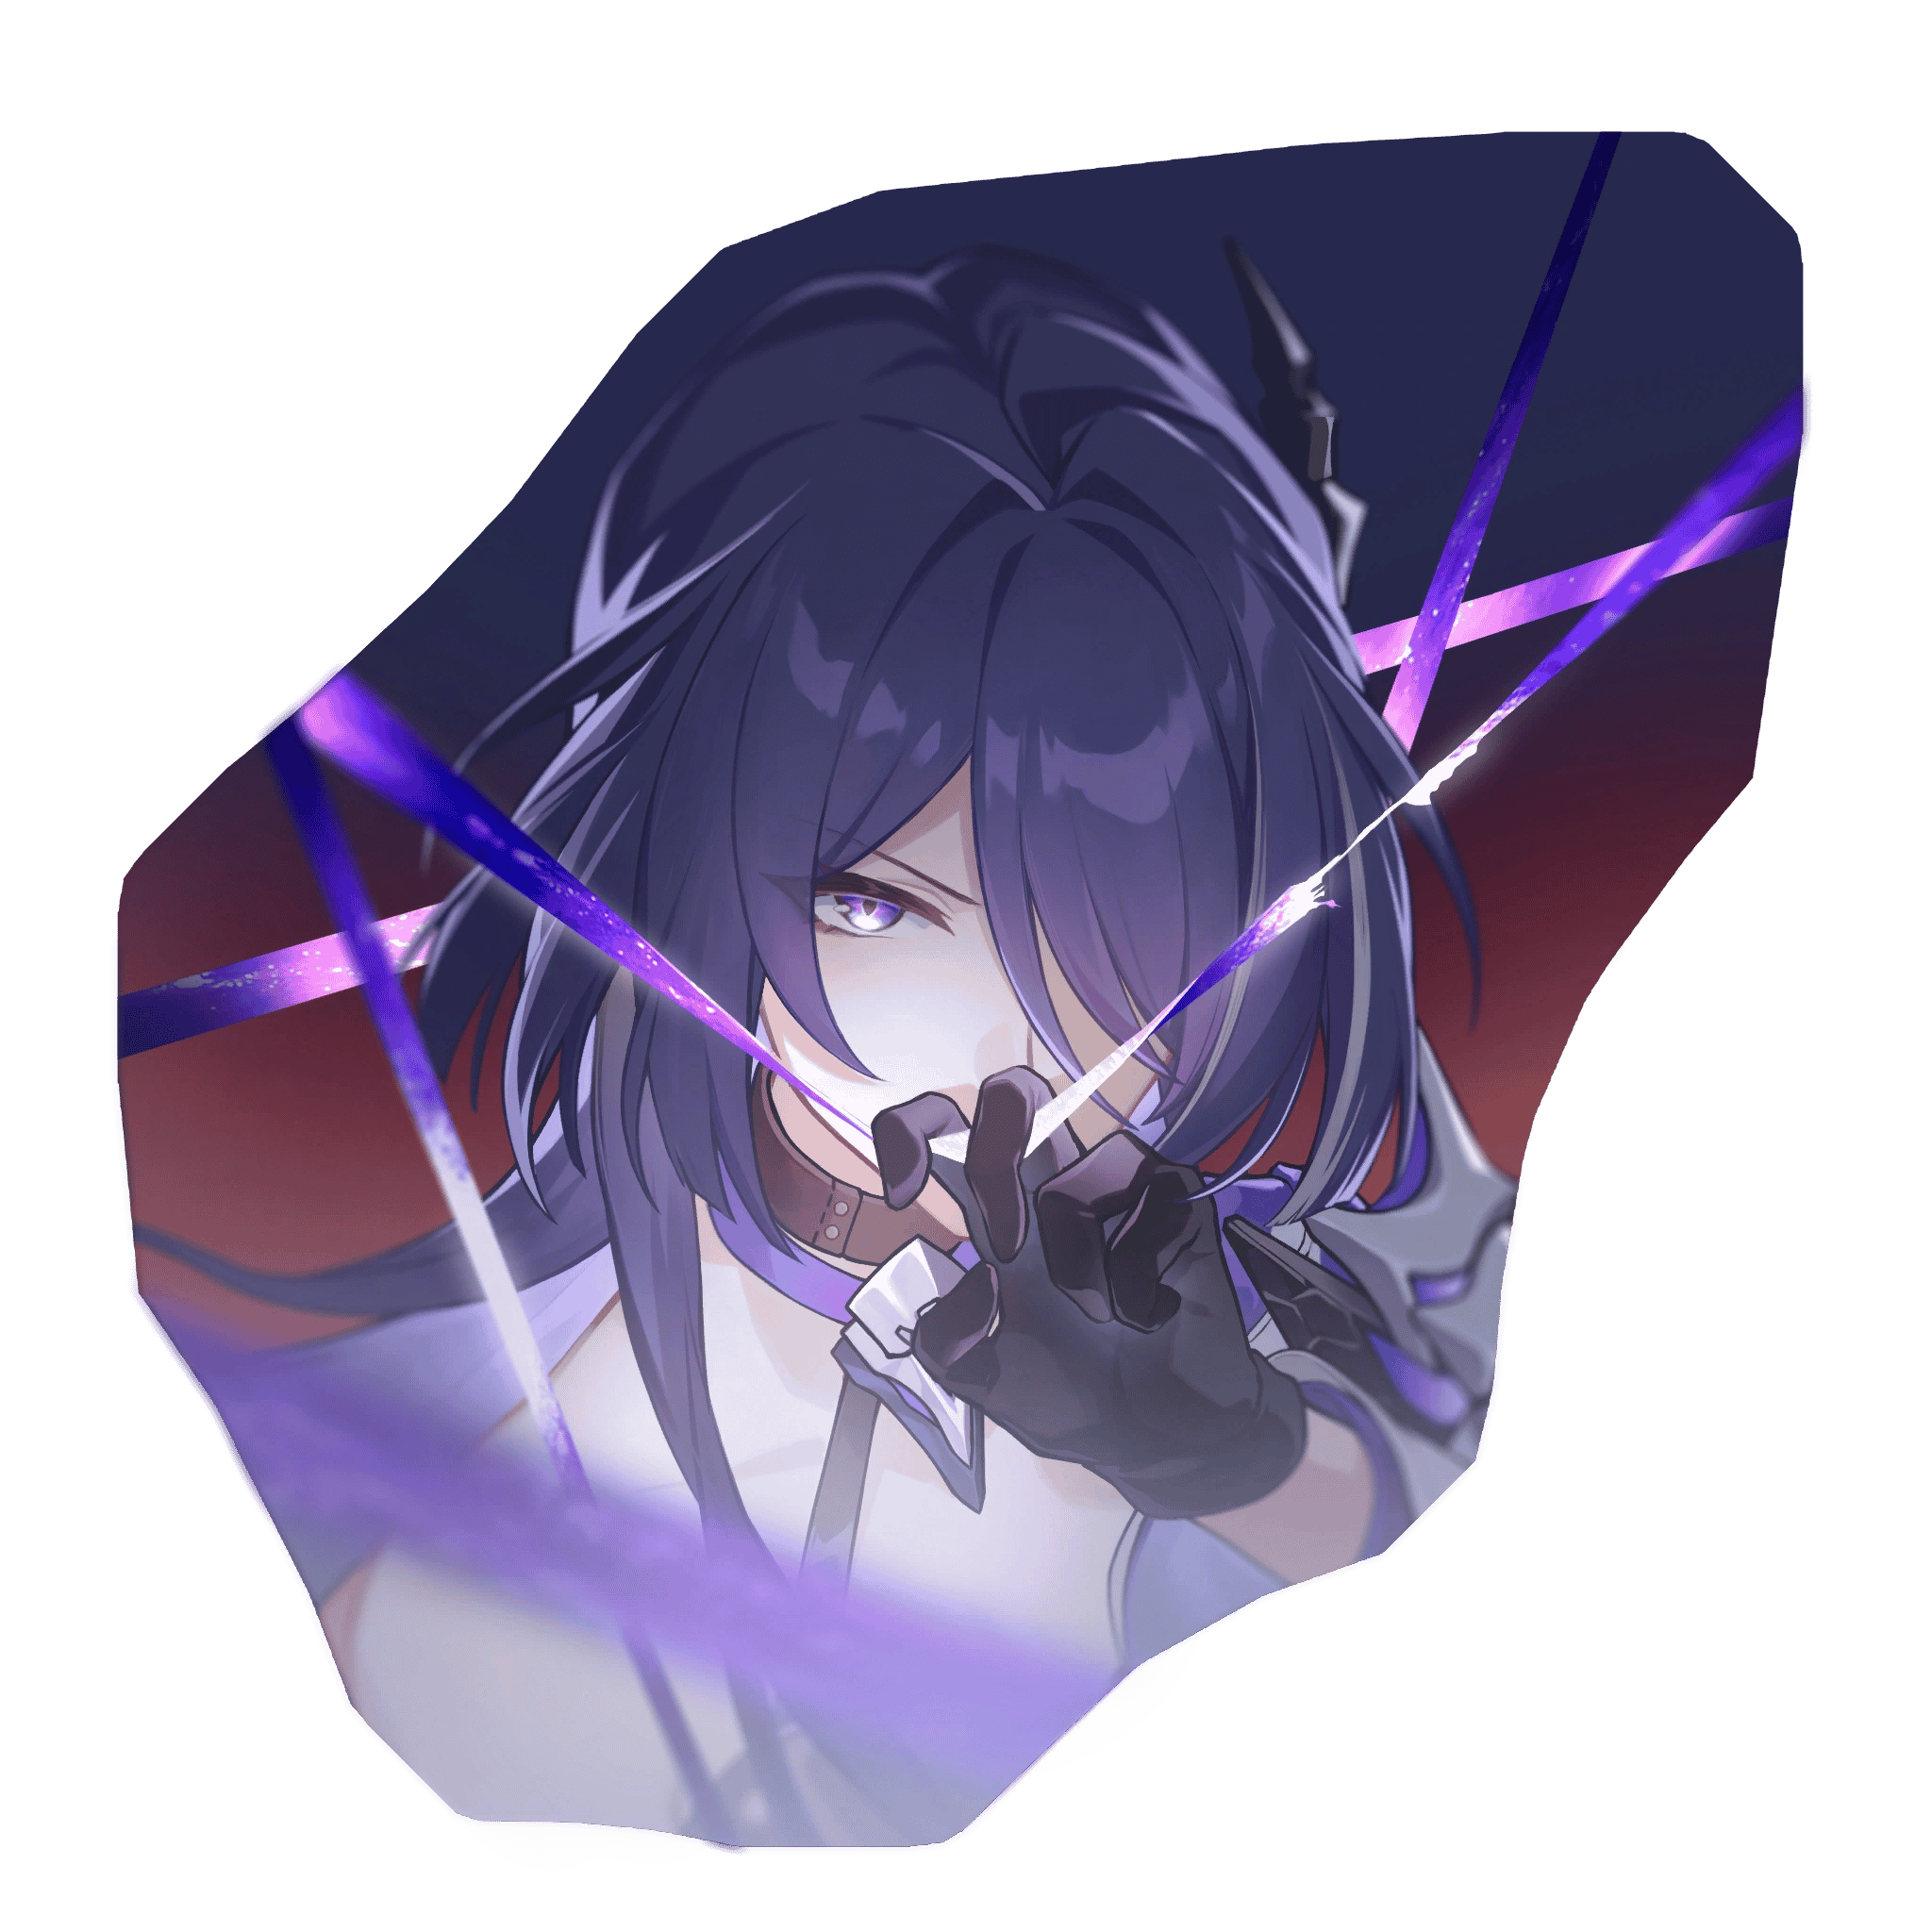
Acheron is a 5★ Lightning character on the Path of Nihility in Honkai: Star Rail. She is a powerful main DPS whose damage revolves around stacking Slashed Dream through her Skill and ally debuffs, then unleashing a massive multi-hit Ultimate that ignores Weakness Types, reduces All-Type RES, and scales with Crimson Knot stacks on enemies.
This guide covers Acheron’s best Light Cones, Relics, Trace priorities, upgrade materials, Eidolons, and team compositions to maximize her damage. Her kit rewards consistent debuff application and at least one (ideally two at E0) Nihility teammates for her major Trace multiplier.
Need more Oneiric Shards for upcoming banner? Top up Oneiric Shards on TOPUPlive to get what you want.


Express Supply Pass
60 Oneiric Shard

300+30 Oneiric Shard

980+110 Oneiric Shard

▍Acheron Character Overview
Acheron functions as a hypercarry main DPS who converts team debuffs into Ultimate stacks and high burst damage. Her Ultimate deals sequential Rainblade hits that consume Crimson Knot for extra AoE damage, followed by Stygian Resurge. She does not rely on traditional Energy and instead builds Slashed Dream (9 stacks to Ultimate).
Character Overview | ||
|---|---|---|
Acheron | Rarity | ★★★★★ |
Element |
Lightning | |
Path |
Nihility | |
Combat Role | Main DPS | |
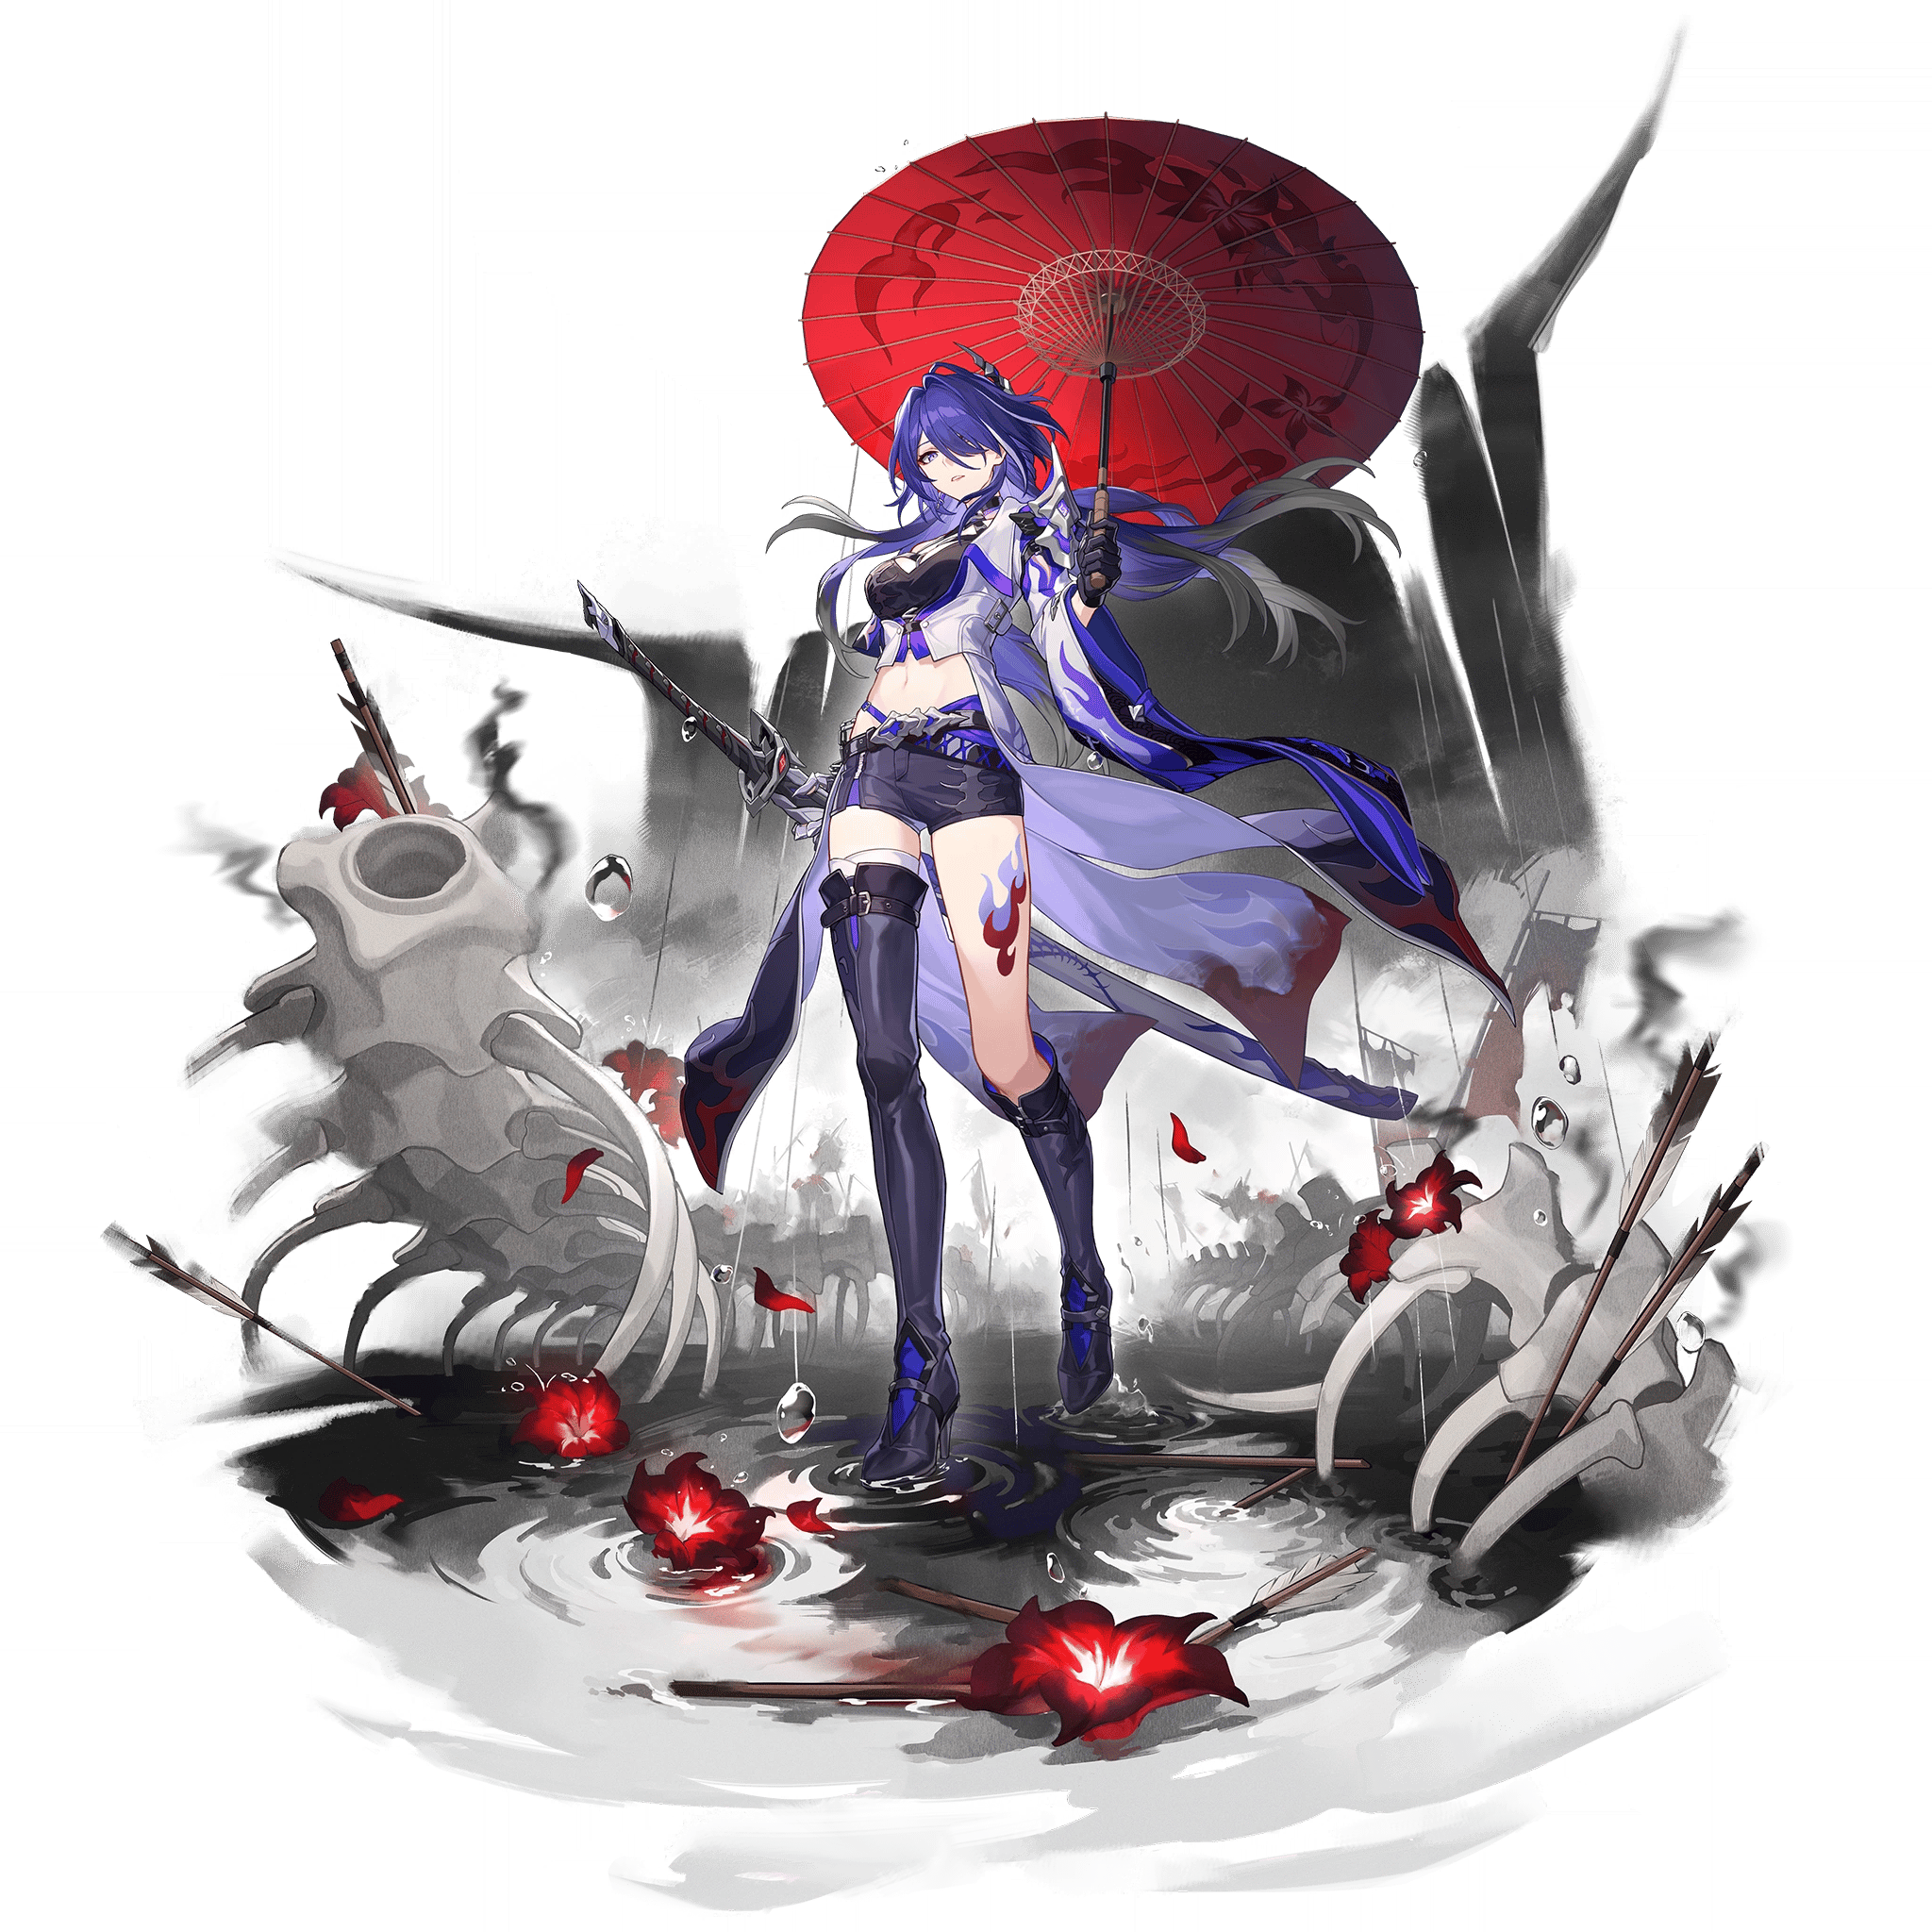


Acheron shines in Memory of Chaos, Apocalyptic Shadow, and most endgame content thanks to her Weakness-agnostic Toughness reduction and strong Ultimate self-buffs. She mainly needs consistent debuffs and Nihility teammates to activate The Abyss (up to 160% DMG with two other Nihility characters at E0).
Her strengths are high self-multipliers, a universal Ultimate, and flexible AoE-to-single-target conversion via Crimson Knot. Weaknesses include reliance on frequent debuffs, the need for two Nihility slots at E0, and a clear upgrade from her Signature Light Cone.
▍Acheron Skill Breakdown
Basic ATK — Trilateral Wiltcross

Deals Lightning DMG to one enemy. Rarely used in optimal rotations once Skill and Ultimate are prioritized; mainly for SP conservation if needed.
Skill — Octobolt Flash

Gains 1 Slashed Dream and applies 1 Crimson Knot to the primary target, dealing Blast Lightning DMG (main + adjacent). This is her primary way to generate stacks and apply her own debuff. Use it frequently while teammates apply additional debuffs.
Ultimate — Slashed Dream Cries in Red
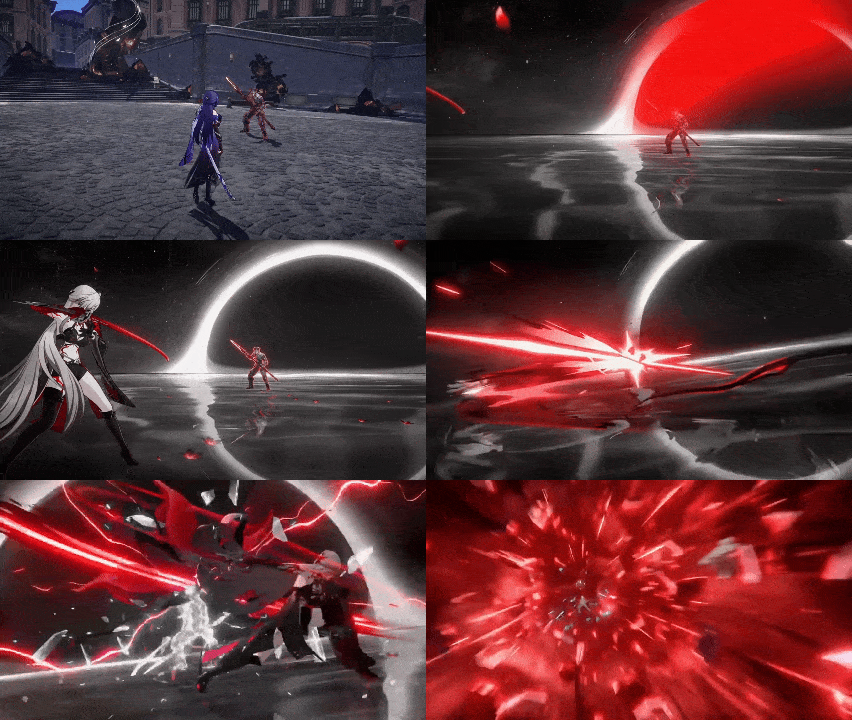
Requires 9 Slashed Dream. Sequentially unleashes Rainblade 3 times (consumes up to 3 Crimson Knot per hit for extra AoE damage that scales with stacks removed) + Stygian Resurge. Reduces All-Type RES during the Ultimate and reduces Toughness regardless of Weakness. Core damage source—time it with maximum Crimson Knot and team buffs.
▍Acheron Trace Priority
Ultimate is the main damage source, followed closely by Skill and Talent for stack generation and multipliers.
Priority | Trace | Reason |
|---|---|---|
1 |
Ultimate | Primary burst and Crimson Knot consumption |
2 |
Skill / Talent | Stack generation, Crimson Knot application, and core passive |
3 |
Basic ATK | Lowest priority |




Major Trace Priority
- The Abyss : Highest priority — massive independent DMG multiplier with 1/2 other Nihility characters (115%/160%).
- Thunder Core : Strong — extra DMG stacks during Ultimate and additional hits on Stygian Resurge.
- Red Oni : Useful — starting Slashed Dream + Crimson Knot and Quadrivalent Ascendance overflow.
Recommended order: The Abyss > Thunder Core > Red Oni.
▍Acheron’s Eidolons
Acheron is fully functional and strong at E0. Eidolons improve consistency, CRIT, and flexibility.
Eidolon | Main Effect | Priority |
|---|---|---|
E1 — Silenced Sky Spake Sooth | +18% CRIT Rate vs debuffed enemies | High |
E2 — Mute Thunder in Still Tempest | Reduces Nihility requirement for The Abyss by 1; gains 1 Slashed Dream + 1 Crimson Knot on turn start | Very High |
E3 | Level increases | Medium |
E4 | Ultimate Vulnerability on enemies | Medium |
E5 | Level increases | Medium |
E6 | Ultimate All-Type RES PEN + Basic/Skill count as Ultimate DMG | High (luxury) |


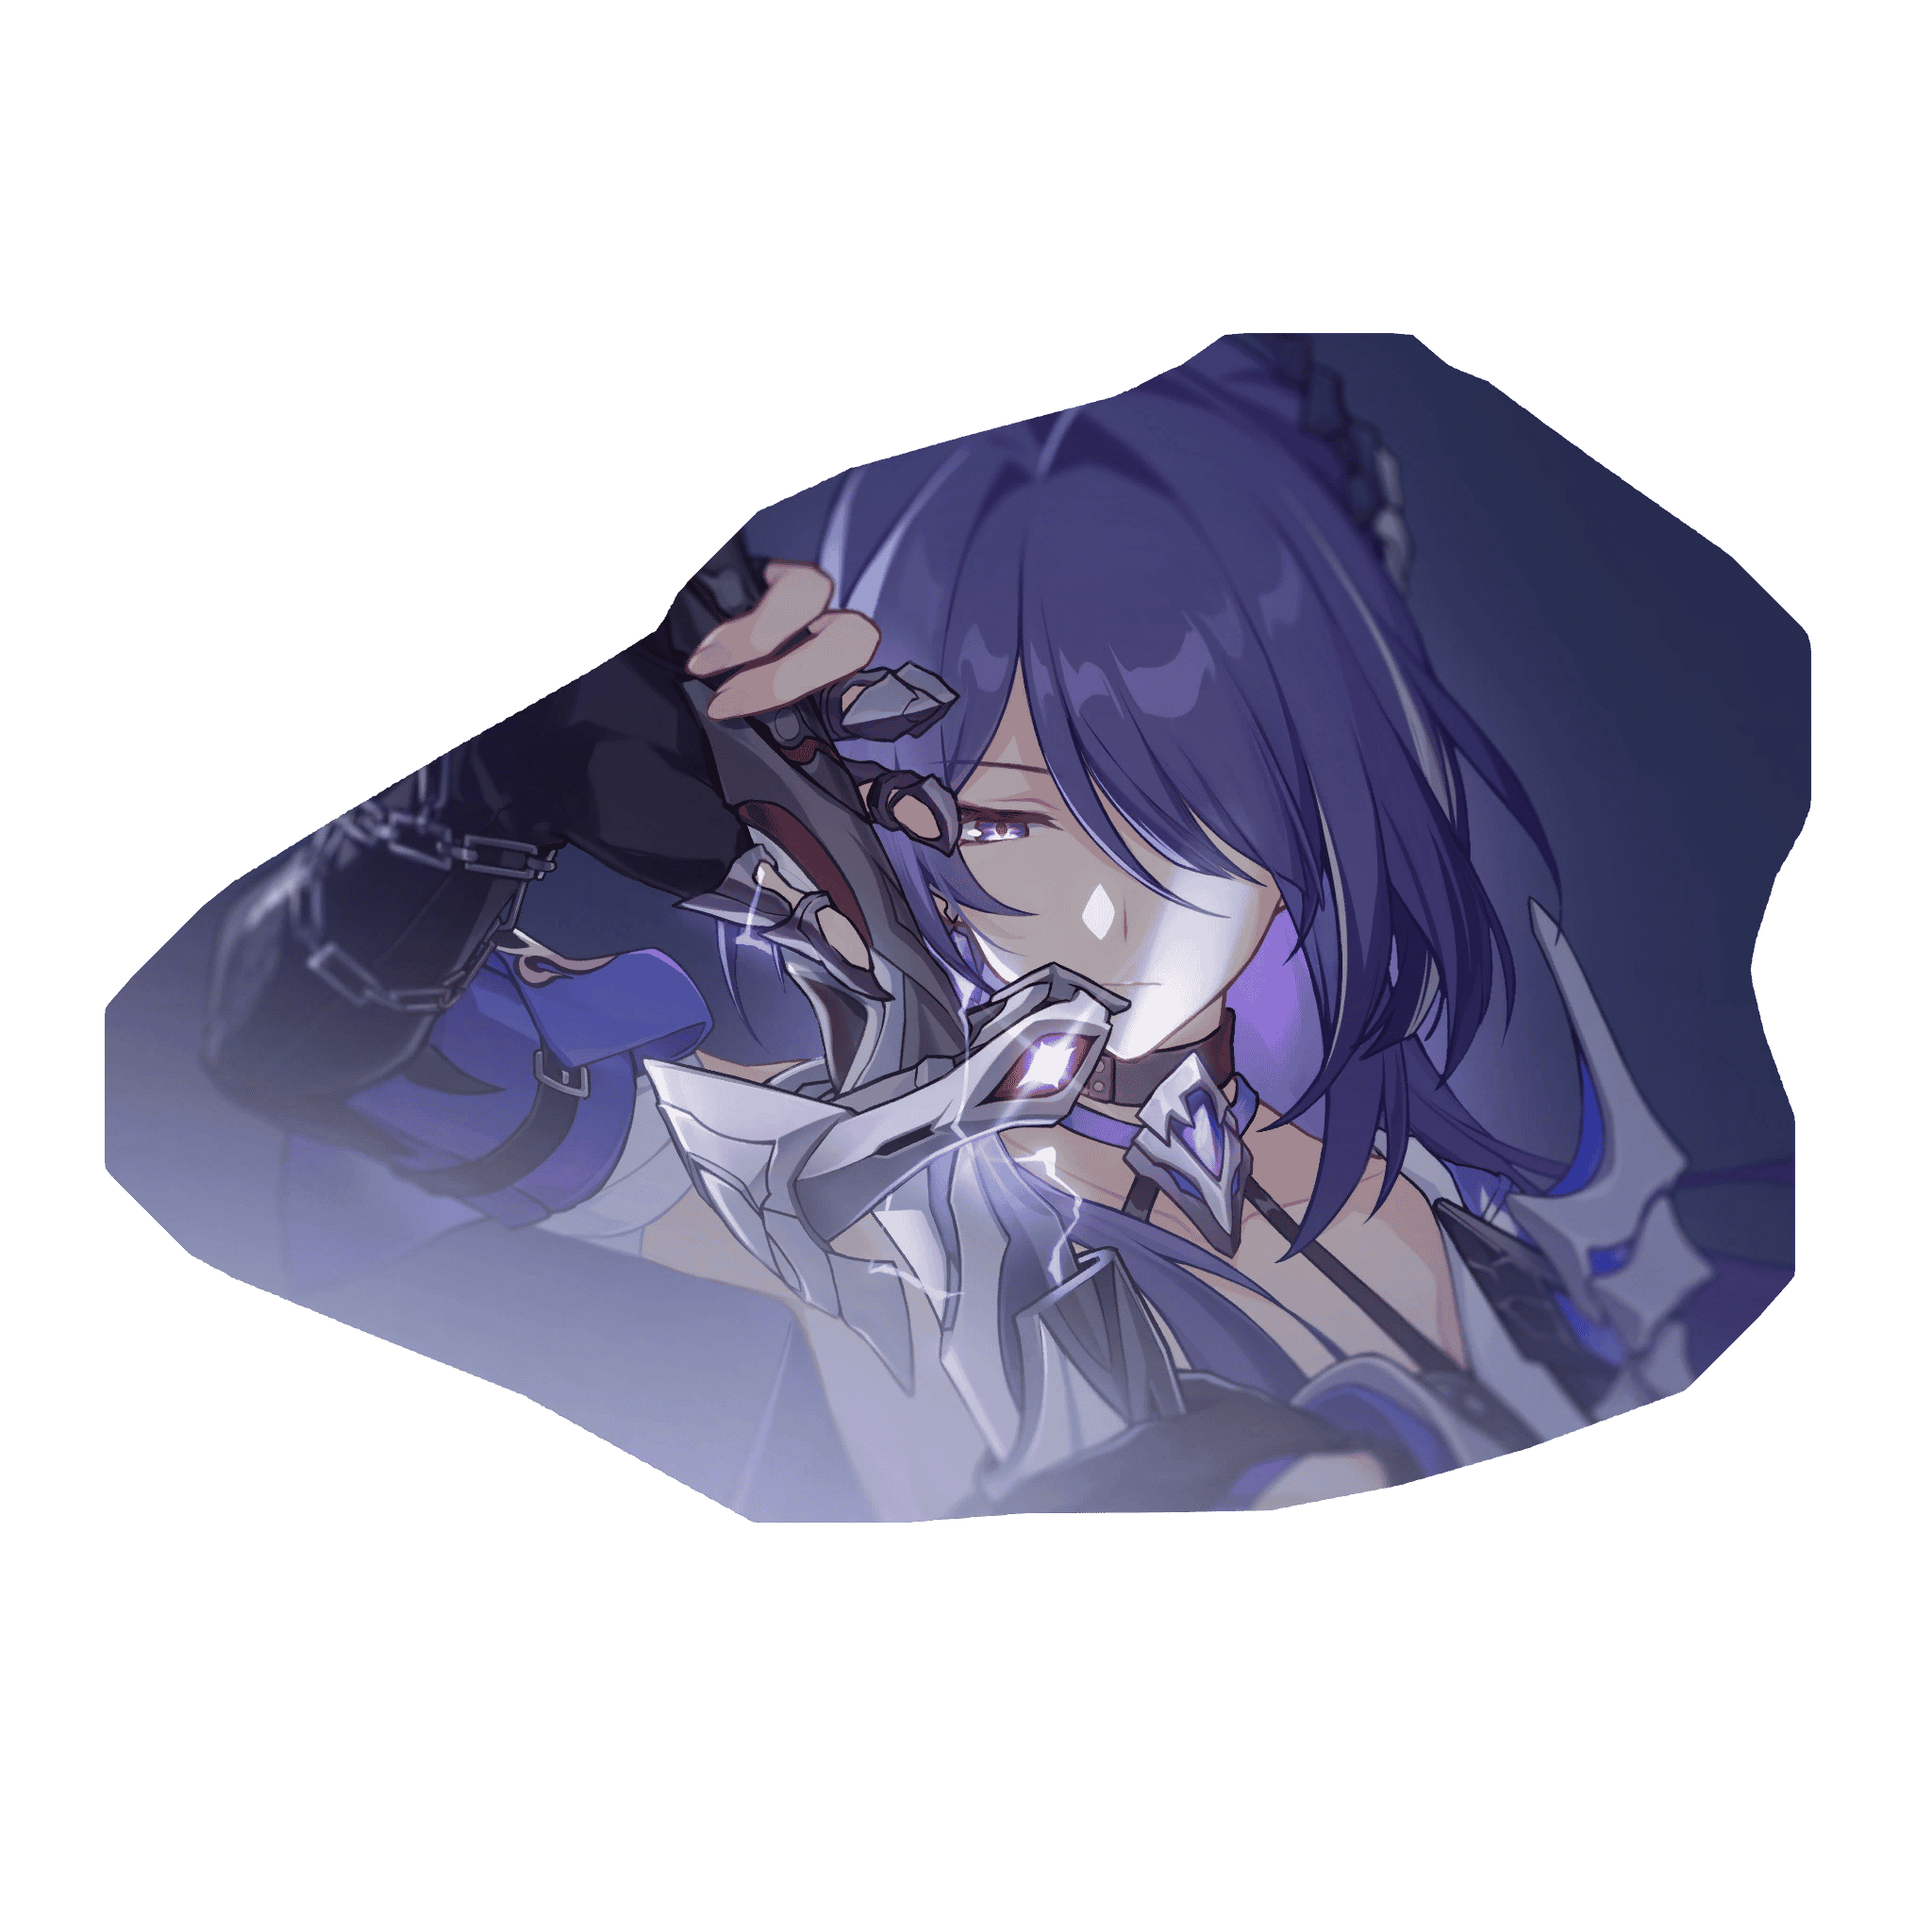


Recommended investment: E0 is excellent. E2 is the biggest quality-of-life and power spike (enables Harmony supports more easily). E1 is a strong CRIT Rate boost. E6 is a high ceiling but not required.
▍Best Light Cones for Acheron
Acheron wants CRIT DMG, ATK, and effects that apply or amplify debuffs (extra Slashed Dream generation).
Along the Passing Shore — Best Signature Light Cone
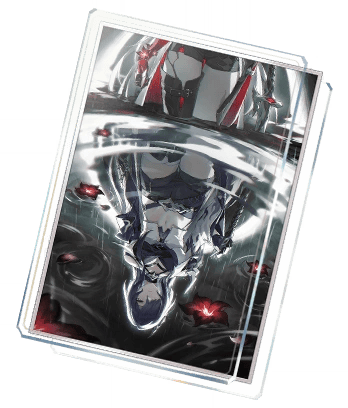
Increases CRIT DMG and applies Mirage Fizzle on hit (extra debuff that boosts her DMG and Ultimate DMG). Perfect synergy—adds stacks and multiplies her already high Ultimate damage. Clear BiS.
Good Night and Sleep Well — Best 4★ / Strong Alternative
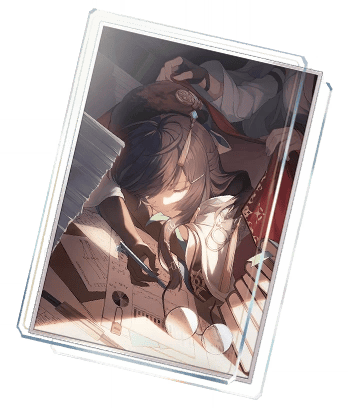
Scales DMG with the number of debuffs on the target (up to 3). Excellent when the team maintains consistent debuffs. Highly recommended F2P/gacha alternative.
Signature is a noticeable upgrade in both damage and stack consistency.
Still grinding hard but struggling to gather enough Oneiric Shards for Acheron and her Signature Light Cone? Head over to TOPUPlive now for streamlined Honkai: Star Rail top-up arrangements tailored for your in-game needs.

▍Best Relics and Planar Ornaments for Acheron
Acheron’s Relic setup should focus on CRIT Rate, CRIT DMG, and ATK. Because her damage relies heavily on debuffed enemies, sets that reward consistent debuff application are especially valuable.
Best Relic Set — Pioneer Diver of Dead Waters (4-piece)

The four-piece Pioneer Diver of Dead Waters is Acheron’s strongest option.
It increases DMG dealt to debuffed enemies, grants CRIT Rate, and further boosts CRIT DMG against targets with 2 or more debuffs (higher bonus at 3+). Since Acheron’s teams keep enemies permanently debuffed, this set stays active almost the entire fight and pairs perfectly with her kit.
Alternative Relic Set — Scholar Lost in Erudition (4-piece)

The four-piece Scholar Lost in Erudition is a solid alternative when Pioneer pieces have poor substats.
It provides CRIT Rate and additional CRIT DMG after using Ultimate or Skill, which aligns well with Acheron’s frequent Skill usage and Ultimate-focused rotation. It is especially useful during the farming stage or when you already have strong CRIT pieces on this set.
Alternative Relic Set — Band of Sizzling Thunder (4-piece or 2-piece mix)

Band of Sizzling Thunder works as an early-game or transitional option.
The two-piece gives Lightning DMG, while the four-piece adds ATK after using Skill. It is easy to farm and provides immediate damage before you finish a full Pioneer set, though it falls behind once consistent debuffs are available.
Best Planar Ornament — Izumo Gensei and Takama Divine Realm (2-piece)

Izumo Gensei and Takama Divine Realm is the preferred Planar set for most Acheron teams.
It increases ATK and grants extra CRIT Rate when at least one other teammate follows the same Path (Nihility). This condition is almost always met in her standard compositions, making the set highly consistent.
Alternative Planar Ornament — Firmament Frontline: Glamoth

Firmament Frontline: Glamoth is a strong alternative if Acheron reaches high SPD breakpoints (usually 135+).
It provides ATK and additional DMG based on SPD, rewarding faster builds that take more actions.
Alternative Planar Ornament — Inert Salsotto or Rutilant Arena

Inert Salsotto offers CRIT Rate and Ultimate/Follow-up DMG, which benefits Acheron’s Ultimate-focused damage.

Rutilant Arena provides CRIT Rate and increases Skill DMG when the CRIT Rate threshold is met. Both are viable when their pieces have superior substats or when you need extra CRIT Rate to balance your build.
Acheron Relic Main Stats
Relic Piece | Recommended Main Stat |
|---|---|
Body | CRIT Rate or CRIT DMG (balance toward ~1:2 ratio) |
Feet | ATK% (or SPD for breakpoints) |
Planar Sphere | ATK% or Lightning DMG% |
Link Rope | ATK% |
Recommended Substats
CRIT Rate (until ~80–90%+ in combat) > CRIT DMG > ATK% > SPD (only if targeting a specific breakpoint; many teams can run base SPD with action advance).
Recommended Endgame Stats
Stat | Target |
|---|---|
ATK | 2,900–3,200+ |
CRIT Rate | 80–90%+ (in combat) |
CRIT DMG | 160–180%+ |
SPD | Base (101) or 134+ depending on team |
HP | ~2,800+ |
DEF | ~800+ |
Exact numbers vary with Light Cone, buffs, and Eidolons. Prioritize consistent CRIT hits on her concentrated Ultimate windows.
▍Acheron Ascension and Trace Materials
Prepare Acheron’s materials before investing heavily in her levels and Traces. The following table lists the materials required to raise her from Level 1 to Level 80.
Material | Quantity |
|---|---|
Credits | 308,000 |
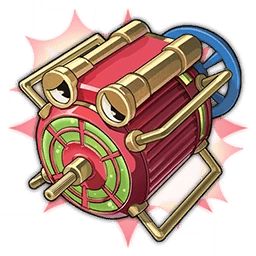
Dream Collection Component | 15 |
Dream Flow Valve | 15 |
Dream Making Engine | 15 |
Shape Shifter’s Lightning Staff | 65 |



Trace Materials (full upgrade is resource-intensive):
- Nihility Trace materials (Fiery Spirit / Starfire Essence / Heaven Incinerator from Crimson Calyx)
- Dream series materials
- Past Evils of the Borehole Planet Disaster
- Tracks of Destiny
- Large amount of Credits
Prioritize Ultimate → Skill/Talent. Farm Dream materials from Penacony Dreamjolt Troupe enemies and Shape Shifter’s Lightning Staff from the relevant Stagnant Shadow.
▍Best Acheron Teams
Acheron thrives when enemies remain under constant debuffs, allowing her to rapidly stack Slashed Dream and maximize Crimson Knot value on her Ultimate. At E0 she prefers two Nihility characters to fully activate The Abyss. At E2 the requirement drops to one Nihility, opening stronger Harmony hypercarry options. Below are two concrete, high-performing teams.
Team 1 — Acheron + Jiaoqiu + Pela + Aventurine
|
|
|
|
|---|---|---|---|
Acheron | Jiaoqiu | Pela | Aventurine |




This is currently one of Acheron’s strongest and most consistent endgame setups.
Jiaoqiu acts as the primary debuff engine. He applies frequent debuffs, increases enemy damage taken (Vulnerability), and significantly accelerates Acheron’s stack generation while amplifying her Ultimate windows.
Pela provides reliable DEF reduction and an additional consistent debuff layer. This keeps the Pioneer 4-piece set and Light Cone effects fully active throughout the fight.
Aventurine handles sustain with high-uptime shields. He also contributes CRIT DMG amplification through Unnerved and offers light follow-up attacks without heavily competing for Skill Points.
Team 2 — Acheron + Pela + Guinaifen + Gallagher
|
|
|
|
|---|---|---|---|
Acheron | Pela | Guinaifen | Gallagher |




This budget-friendly lineup is fully functional with standard 4-star characters.
Pela is the key DEF-shred and debuff anchor. She ensures consistent defense reduction and helps maintain the conditions required by Acheron’s Relics and Light Cones.
Guinaifen supplies secondary debuffs through Burn application and her Skill/Ultimate. She also offers light Break support, helping Acheron generate stacks steadily even without limited Nihility units.
Gallagher provides reliable healing with a Skill-Point-efficient playstyle (often Basic ATK focused). He additionally contributes Break Effect that assists with Toughness reduction.
▍FAQs about Acheron
1. Is Acheron good at E0?
Yes. She is a strong main DPS at E0 with proper Nihility teammates and debuff uptime. E2 is the most impactful upgrade for flexibility.
2. Does she need her Signature Light Cone?
It is her best option by a clear margin, but Good Night and Sleep Well (and other strong alternatives) perform very well.
3. What is the best Relic set?
4-piece Pioneer Diver of Dead Waters is the clear BiS in almost all scenarios.
▍Conclusion
Acheron remains one of the strongest and most flexible Lightning Nihility DPS units. Build her with high CRIT and ATK, equip Pioneer + Izumo, pair her with consistent debuffers, and time Ultimates around maximum Crimson Knot stacks. Whether you run the premium Jiaoqiu core or the accessible Pela + Guinaifen setup, she delivers excellent performance across endgame modes.
For more Honkai: Star Rail character guides, banner updates, and Oneiric Shards top-up options, visit TOPUPlive.

Lucas Brown
game writer
I focus on writing guides, tips, and strategy content for popular games. I specialize in breaking down complex systems and economy mechanics, helping players save time and currency while staying ahead of the latest updates and limited-time events.

Related products

Related News

Arena Breakout Mobile Codes (November 2026) – Working Redeem Codes & How to Use
Monster Hunter Outlanders Tier List: Best Adventurers and Team Compositions
Monster Hunter Outlanders Codes (November 2026): All Active Codes and How to Redeem
Honkai: Star Rail Version 4.7 Livestream Summary: Banners, Aha, Free Rewards, and Events
NTE Version 1.5 Livestream Summary: New Characters, Banners, Story, Events, and Codes
TOPUPlive Halloween 2026 Events: Free Monthly Passes and Gaming Currency
Monster Hunter Outlanders Top Up Guide: Price, Methods & How to Top Up Crimson Crest Coins Safely & Cheaply
Where Winds Meet Redeem Codes (November 2026): Active Codes and Free Rewards