


Arena Breakout: Infinite Armor Guide: Best Armor Tiers, Materials, and Loadouts

2026-11-11 16:56:34
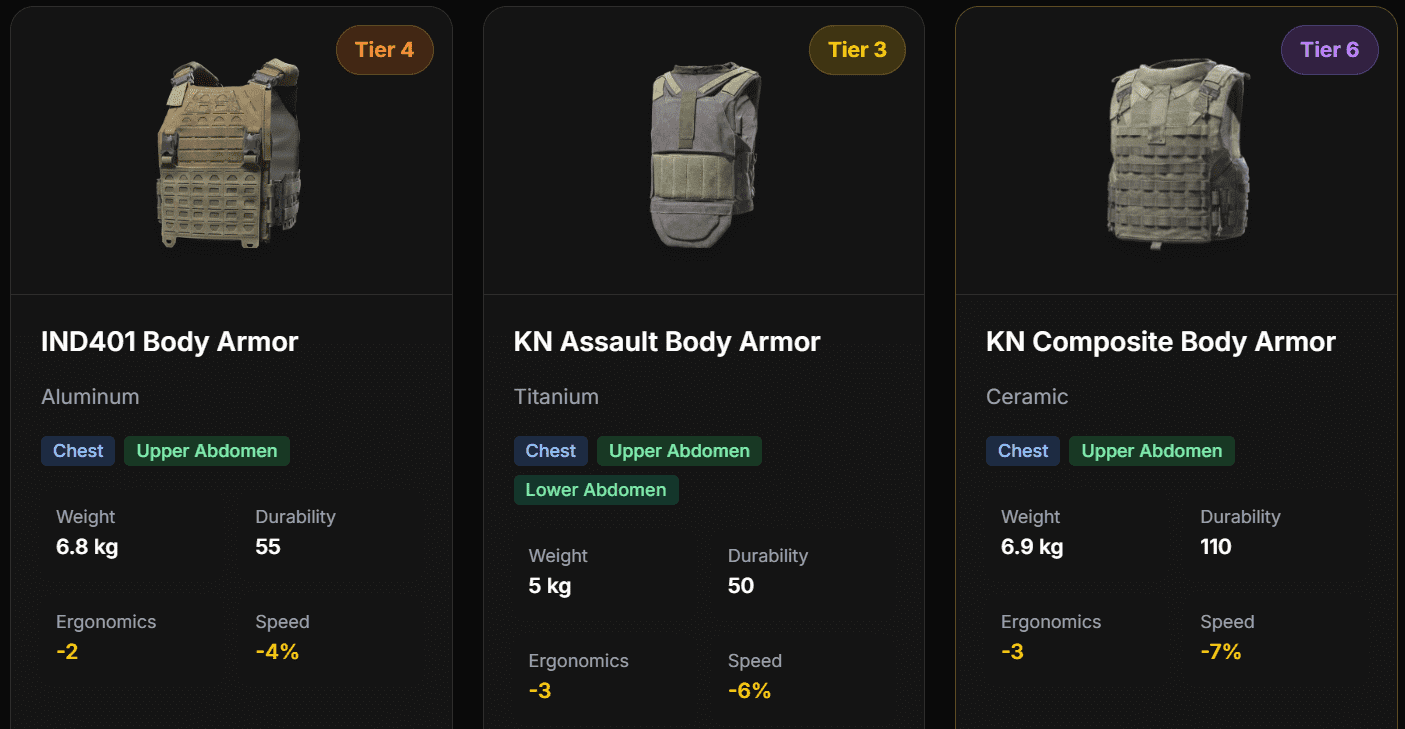
Armor is one of the most important parts of your loadout in Arena Breakout: Infinite. The right body armor and helmet can help you survive enemy fire, but choosing gear based only on its protection class is a common mistake. Durability, material, coverage, weight, and movement penalties all affect your chances of extracting successfully.
Season 7: Utopia introduced important combat changes, including gear-class limits in different modes and the removal of random penetration for Class 5 and Class 6 armor. These changes make it even more important to understand how armor works before entering a raid.
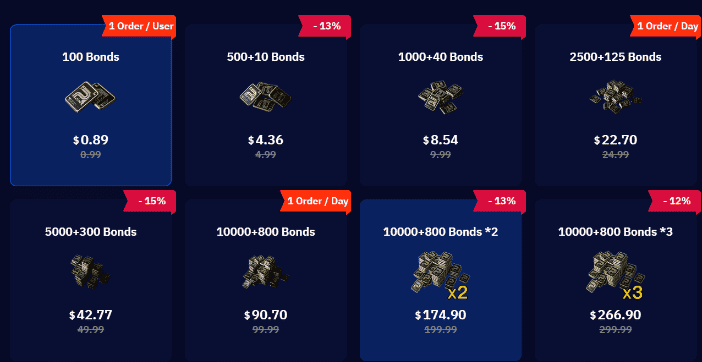
If you need Bonds for seasonal content, Battle Passes, or other purchases, you can top up Bond with 15% off discounted in TOPUPlive.


100 Bonds
Klukai Guarantee Bundle

Leva Guarantee Bundle

Sangvis Ferri Bundle
▍How the Armor System Works
In Arena Breakout: Infinite, armor protects specific body parts from incoming damage. Your protection depends on several factors, not just the armor's displayed class.
Armor Class and Bullet Penetration
Armor is divided into six protection classes, from Class 1 to Class 6. Generally, higher-class armor offers better protection against bullets with lower penetration.
However, armor class does not guarantee that you will survive every shot. The ammunition's penetration level, your armor's remaining durability, and the body part being hit all matter.
Here is a practical overview:
Armor Class | Typical Use | Recommended Situation |
|---|---|---|
Class 1–2 | Very basic protection | Low-cost raids and early progression |
Class 3 | Entry-level protection | Budget PvE and low-risk raids |
Class 4 | Balanced protection | Normal mode and budget PvP |
Class 5 | Strong protection | Lockdown Zone and serious PvP |
Class 6 | Top-tier protection | Forbidden Zone and high-value engagements |
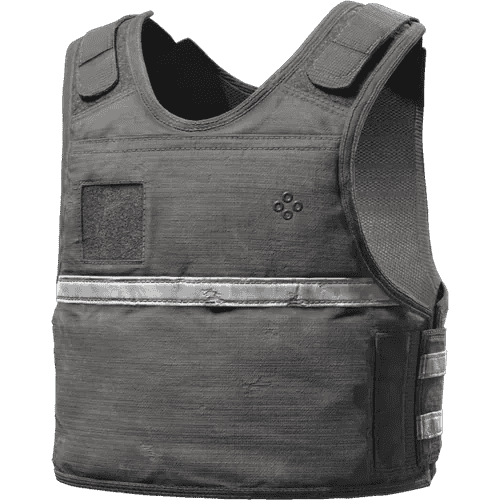
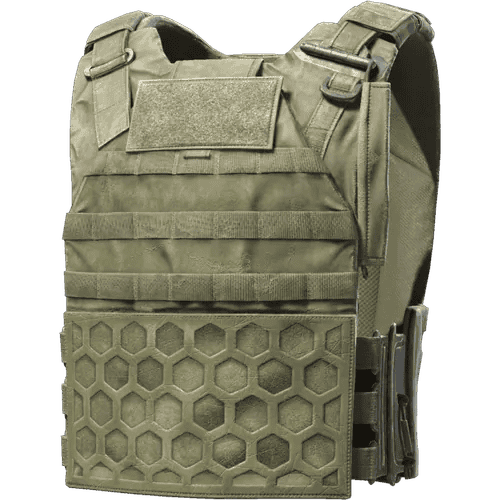
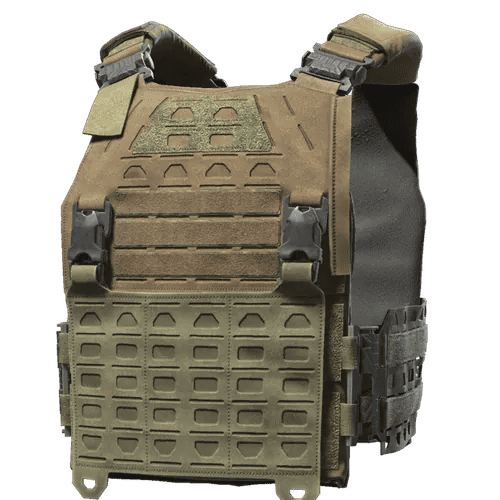
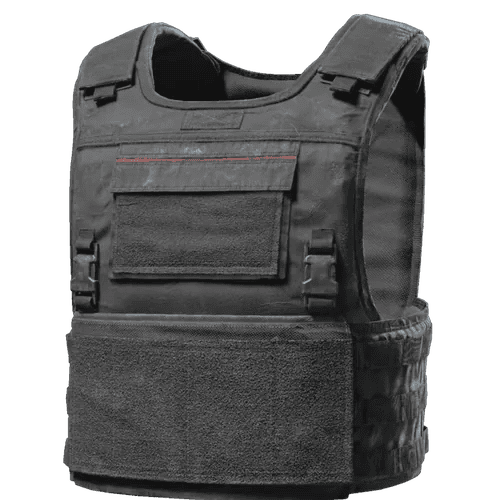
Keep in mind that these are general recommendations, not guarantees against specific ammunition. Always check the ammunition's penetration stats before deciding which armor to wear.
Durability and Armor Condition
Every bullet that hits protected armor reduces its durability. As durability decreases, the armor becomes less reliable and may eventually fail to stop incoming rounds.
This means a damaged Class 6 vest is not automatically better than a fresh Class 4 vest. Before entering a raid, check the current durability rather than relying only on the original maximum value.
Armor can be repaired, but repeated repairs reduce its maximum durability. A heavily repaired item may therefore provide less practical protection than a new one of the same model.
Armor Coverage
Armor only protects the body areas listed in its item description. Some vests cover only the chest, while others also protect the upper abdomen, lower abdomen, or shoulders.
This distinction can be decisive in combat. A high-class vest that leaves the abdomen exposed cannot protect you from shots that hit that unprotected area.
Before buying armor, check its coverage alongside its class and durability.
▍Armor Materials Explained
Armor material affects how quickly durability is consumed when the armor takes damage. It also influences weight, mobility, and repair efficiency.
Different materials have different trade-offs, so the highest protection class is not necessarily the most economical choice.
Material | Main Characteristics | What to Consider |
|---|---|---|
Aramid | Low durability loss per hit in commonly documented material data | Useful for repeated use and repair efficiency |
Polyethylene | Relatively low durability loss and often lightweight | A good balance for mobility-focused builds |
Titanium | Moderate durability consumption | A balanced option depending on the item's stats |
Aluminum | Moderate durability consumption | Compare its weight and coverage with alternatives |
Composite | Higher durability consumption than lighter materials in common data | Check repair costs and item condition |
Hardened Steel | Heavy, with relatively high durability consumption | Can impose noticeable movement penalties |
Ceramic | High durability consumption in commonly documented data | Check repair efficiency and the item's other stats |
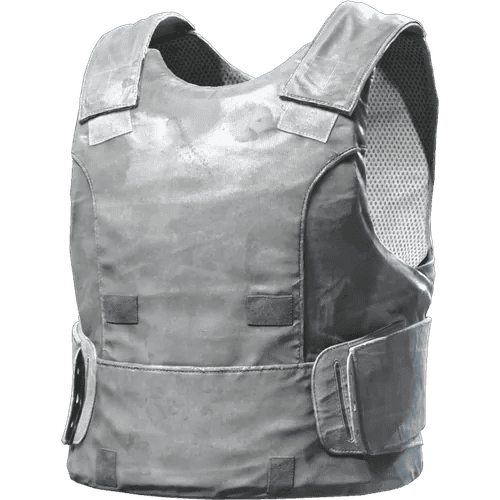
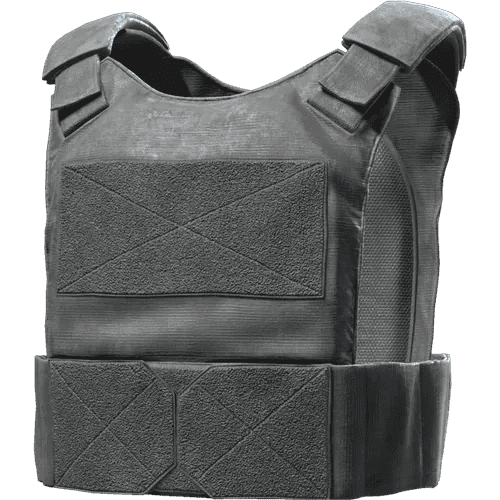
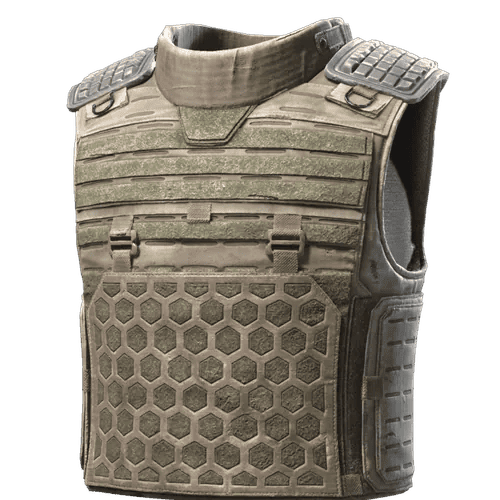
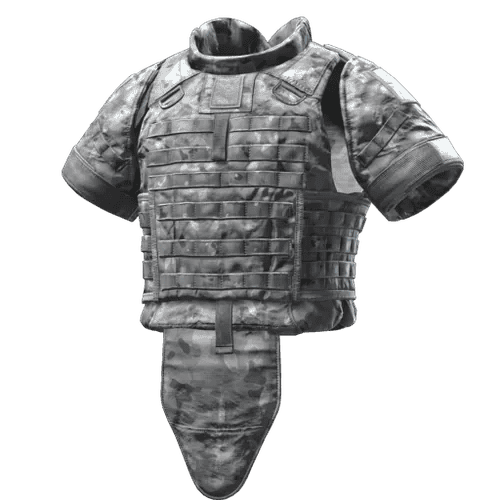
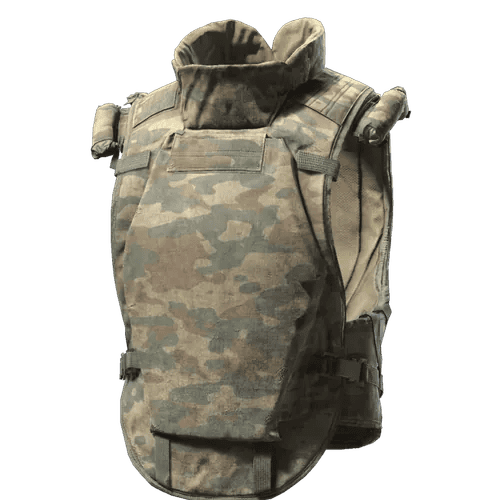
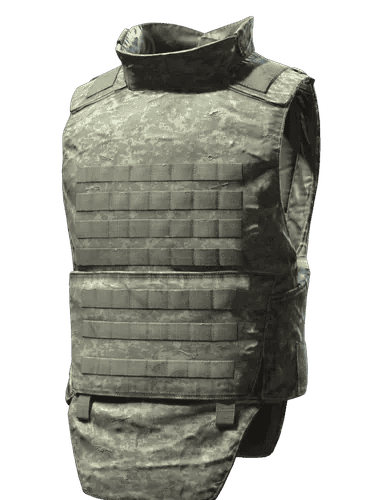
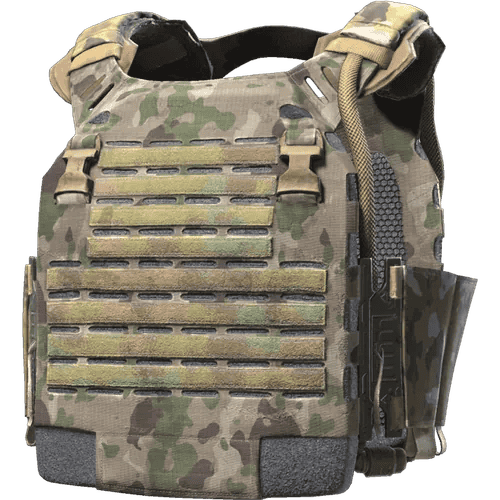
Important: Material alone does not determine whether armor can stop a particular bullet. Always compare protection class, durability, and the item's full statistics. A lightweight armor made from a material with lower durability loss can be more economical over multiple raids, even if another armor has a higher displayed durability value.
▍Best Body Armor to Consider
The best body armor depends on your raid difficulty and budget. The following options are worth considering based on their protection class, coverage, and mobility trade-offs.
Class 4: 6B13 Body Armor
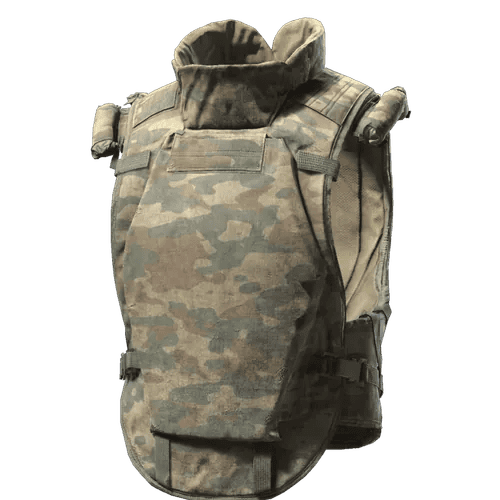
The 6B13 Body Armor is a practical Class 4 option for players who want a balance between protection and cost.
- Class: 4
- Material: Composite
- Durability: 65
- Weight: 7 kg
- Coverage: Chest and upper abdomen
It provides more coverage than chest-only options, making it a reasonable choice for Normal raids and budget-oriented loadouts.
Its weight is worth considering, but it avoids the more severe mobility penalties associated with some heavy armor.
Class 4: Spartan B Body Armor
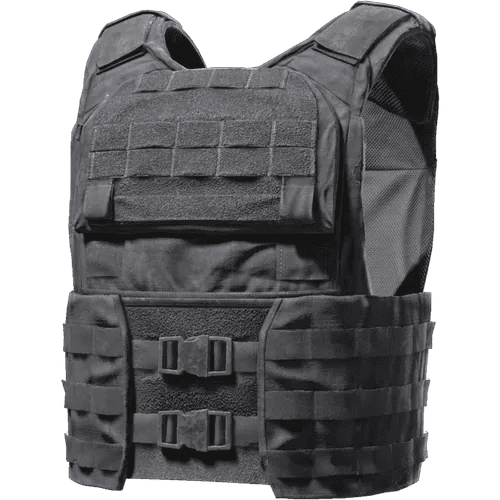
The Spartan B Body Armor is another Class 4 option, particularly worth considering if you prefer a lighter setup.
- Class: 4
- Material: Aramid
- Durability: 50
- Weight: 5.4 kg
Its lower weight makes it attractive for players who value movement and want to avoid carrying unnecessarily heavy equipment.
The trade-off is its lower listed durability compared with the 6B13. Choose between them based on the mobility and protection balance you prefer.
Class 5: BT6 Heavy Body Armor
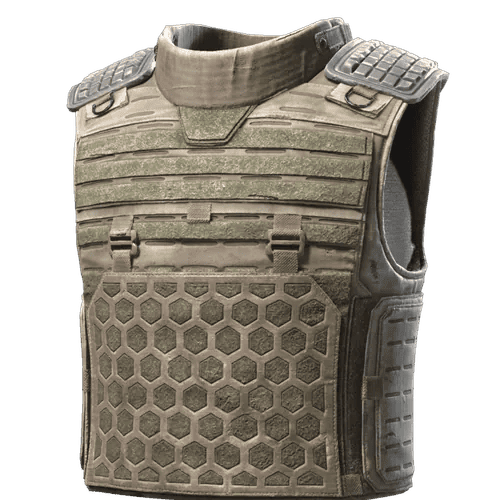
The BT6 Heavy Body Armor is a strong option for players entering more dangerous raids.
- Class: 5
- Material: Titanium
- Durability: 90
- Weight: 8.6 kg
- Coverage: Chest and upper abdomen
It offers a higher protection class than Class 4 armor while avoiding some of the extreme weight penalties found on heavier Class 5 and Class 6 options.
For players who regularly enter Lockdown Zone, it is a worthwhile armor to compare against other Class 5 choices.
Class 5: IMTV Samurai Full Protection Body Armor
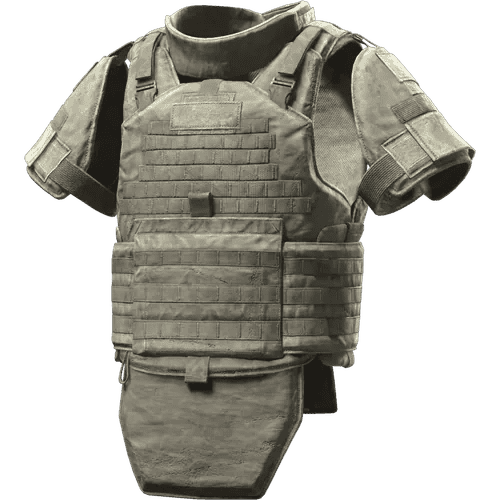
The IMTV Samurai Full Protection Body Armor is designed for players who prioritize wider coverage.
- Class: 5
- Material: Aluminum
- Durability: 90
- Weight: 11 kg
- Coverage: Chest, shoulders, upper abdomen, and lower abdomen
Its wider protection coverage is useful in prolonged firefights, especially when you want to reduce the number of exposed body areas.
However, the weight and movement penalties make it less suitable for players who rely on fast rotations and aggressive repositioning.
Class 6: BT101 Tactical Body Armor
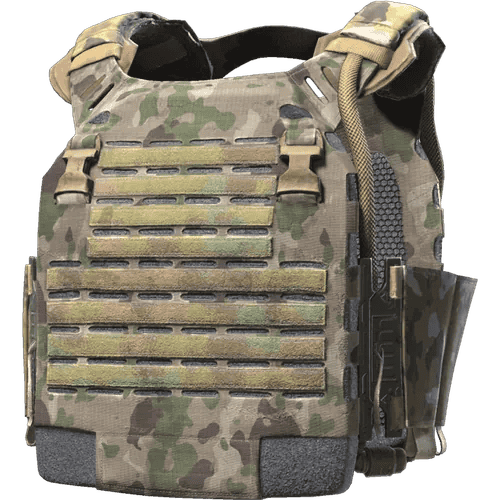
The BT101 Tactical Body Armor is a Class 6 option for high-risk raids.
- Class: 6
- Material: Ceramic
- Durability: 100
- Weight: 5.5 kg
- Coverage: Chest
Its main advantage is its high protection class combined with relatively low weight for Class 6 armor.
The main limitation is its chest-only coverage. Your abdomen and shoulders remain exposed, so it should not be treated as full-body protection.
Class 6: Marshal Heavy Body Armor
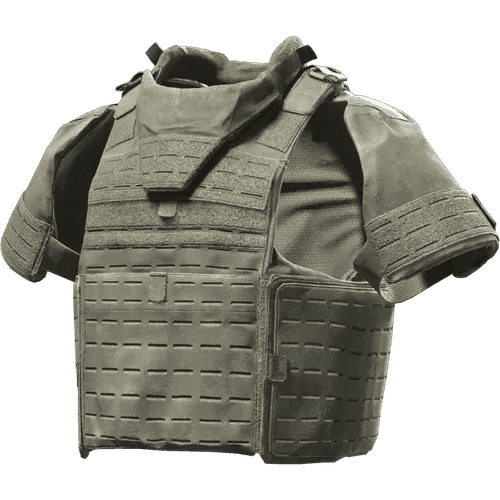
The Marshal Heavy Body Armor is another high-tier option with broader coverage.
- Class: 6
- Material: Ceramic
- Durability: 115
- Weight: 7.8 kg
- Coverage: Chest, shoulders, and upper abdomen
Compared with the BT101, it offers additional protection coverage and higher listed durability, but it is heavier and carries greater mobility penalties.
It is a strong option for players who expect intense firefights and are willing to sacrifice some movement speed.
▍Choosing the Right Helmet
A helmet protects your head, but it is important to consider more than its protection class. Coverage, weight, sound restrictions, and durability all influence your choice.
Season 7 removed ricochet from all helmets and masks. This means you should no longer choose a helmet based on its previous ricochet reputation. Class, coverage, and handling penalties are now more important considerations.
IND70 Tactical Helmet
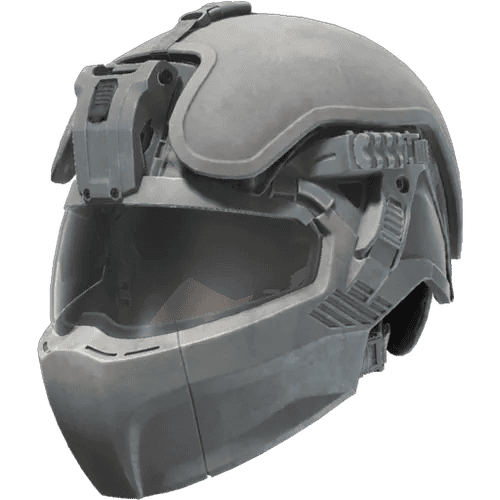
The IND70 Tactical Helmet is a Class 6 helmet with broad protection coverage.
- Class: 6
- Material: Polyethylene
- Durability: 80
- Weight: 2.1 kg
- Coverage: Head, ears, and face
It is a high-end choice for players who want extensive head protection without using one of the heaviest helmets.
However, the IND70 is not a regular Market purchase. It has been restricted to crafting and specific reward sources, so obtaining one may require additional effort.
AS200 Heavy Tactical Helmet
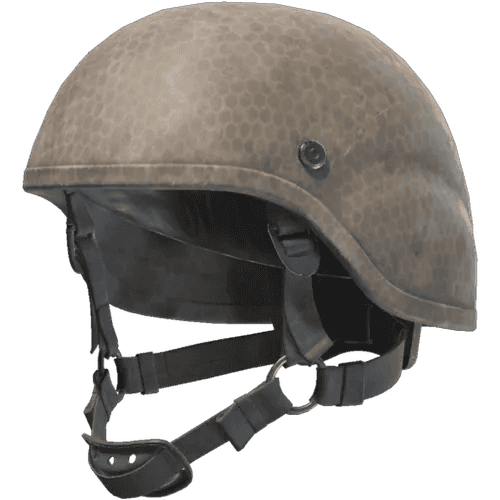
The AS200 Heavy Tactical Helmet is another Class 6 option.
- Class: 6
- Material: Polyethylene
- Durability: 65
- Weight: 1.6 kg
- Coverage: Head and ears
Its biggest advantage is its relatively low weight. If you want Class 6 protection while keeping your loadout more mobile, it is worth considering.
Its coverage does not include the face, so you may need to consider compatible face protection if you want additional coverage.
HG84 Offensive Helmet
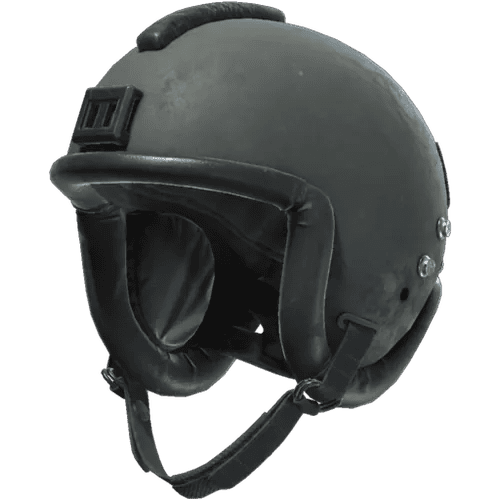
The HG84 Offensive Helmet offers Class 6 protection with a different balance of weight and handling.
- Class: 6
- Material: Composite
- Durability: 70
- Weight: 2.7 kg
- Coverage: Head and ears
It is a solid high-tier option, but its greater weight makes it less appealing if mobility is your top priority.
03 Heavy Tactical Helmet
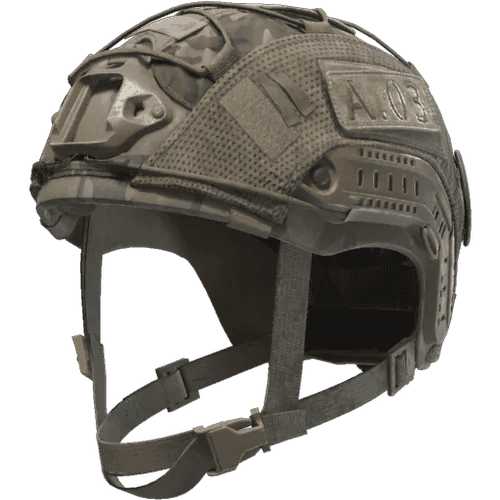
For players who do not need Class 6 protection, the 03 Heavy Tactical Helmet is a Class 5 alternative.
- Class: 5
- Material: Composite
- Durability: 45
- Weight: 2.1 kg
- Coverage: Head and ears
It can be a practical option for Lockdown Zone raids when you want to stay within the mode's equipment restrictions.
You could also read this article and choose your favorite the weapons: Arena Breakout: Infinite Season 7 Weapon Tier List: Which Guns Should You Use?
▍Season 7 Armor Restrictions by Game Mode
Season 7: Utopia introduced mode-based equipment limits. These restrictions affect which armor classes you can bring into a raid.
Game Mode | Maximum Armor Class | Recommended Armor |
|---|---|---|
Normal | Class 4 | Class 3–4 |
Lockdown Zone | Class 5 | Class 4–5 |
Forbidden Zone | No stated class cap | Class 5–6 |
The official Season 7 announcement confirms the Class 4 limit for Normal and Class 5 limit for Lockdown. The Season 7 guide also reports no stated class limit for Forbidden Zone. Always check the current entry requirements before assembling your loadout, as gear-value restrictions may apply separately.
Normal Mode
Normal mode limits armor to Class 4 and below. There is little reason to spend heavily on Class 5 or Class 6 armor for these raids because you cannot bring it in.
For most players, a Class 3 or Class 4 vest paired with an affordable helmet is a sensible choice.
Lockdown Zone
Lockdown Zone allows armor up to Class 5. This is where Class 5 armor becomes especially useful.
Consider using BT6 or another Class 5 vest with a Class 4 or Class 5 helmet. You should also leave enough of your budget for suitable ammunition and medical supplies.
Forbidden Zone
Forbidden Zone has no stated armor-class cap in the Season 7 guidance. This makes it the appropriate place to consider Class 6 equipment.
However, high-tier armor is expensive and does not guarantee survival. Make sure your ammunition, weapons, and overall loadout are suitable for the opponents you may encounter.
▍How to Build an Effective Armor Loadout
A good armor setup should match your budget, playstyle, and raid difficulty. Spending all your Koen on the highest-class armor is not always the best decision.
Here are three practical approaches.
Budget Loadout
Recommended for: Normal raids and players trying to reduce losses.
- Body Armor: Spartan B or 6B13
- Helmet: An affordable Class 3–4 helmet
- Playstyle: Mobile, cost-conscious, and suitable for lower-risk raids
This setup prioritizes reasonable protection without making each failed raid too expensive.
Mid-Tier Loadout
Recommended for: Lockdown Zone and regular PvP.
- Body Armor: BT6 Heavy Body Armor
- Helmet: 03 Heavy Tactical Helmet or another Class 5 option
- Playstyle: Balanced protection and mobility
This setup is a good starting point for players who want to enter more competitive raids without committing to the cost of a full Class 6 loadout.
High-Tier Loadout
Recommended for: Forbidden Zone and high-risk engagements.
- Body Armor: Marshal Heavy Body Armor or another Class 6 option
- Helmet: IND70, AS200, or HG84
- Playstyle: High protection and readiness for serious PvP
This setup is expensive, so make sure you have enough Koen to support the entire loadout. A high-class vest paired with weak ammunition can still put you at a disadvantage.
▍Armor Tips for Better Survival
Match Armor to Your Ammunition Budget
Your armor and ammunition should be planned together. Buying expensive armor but using ammunition with poor penetration can leave you at a disadvantage against well-equipped opponents.
For PvP-focused raids, make sure your ammunition can realistically compete with the armor classes you expect to encounter.
Check Durability Before Every Raid
Never assume that a repaired or previously looted vest is in perfect condition. Check its current durability before equipping it.
If its maximum durability has fallen significantly after repeated repairs, replacing it may be more economical than continuing to use it.
Pay Attention to Movement Penalties
Heavy armor can reduce movement speed and ergonomics. This can make it harder to reposition, aim, and respond to enemy movement.
If you prefer aggressive flanking or fast rotations, a lighter armor option may be more useful than a heavier vest with slightly better coverage.
Do Not Ignore Exposed Body Parts
A Class 6 vest that protects only the chest still leaves other areas vulnerable. Compare the protected areas of each armor item before choosing one.
A wider-coverage vest may be worth the extra weight if you often fight at close range.
Reconsider Helmet Ricochet Advice
Older guides may recommend helmets based on ricochet chance. This advice is outdated after the Season 7 change.
Instead, prioritize helmet class, coverage, weight, and sound-related penalties.
For players who need additional Bonds for premium content, TOPUPlive provides a convenient Arena Breakout: Infinite top-up option with up to 15% off.
▍FAQs About Arena Breakout: Infinite Armor
1. What is the highest armor class in Arena Breakout: Infinite?
Class 6 is the highest armor class currently available. It offers top-tier protection but is generally more expensive and may come with greater weight or mobility penalties.
2. What is the best armor for Normal mode?
Class 4 armor is the highest class allowed in Normal mode. The 6B13 and Spartan B are two options worth considering, depending on whether you prioritize coverage or mobility.
3. What armor should I use in Lockdown Zone?
Class 5 armor is the highest allowed in Lockdown Zone. BT6 is a strong option to consider, while the IMTV Samurai Full Protection offers wider coverage at the cost of greater weight.
4. What is the best Class 6 body armor?
The BT101 and Marshal Heavy are two notable Class 6 options. BT101 is lighter but protects only the chest, while Marshal Heavy offers broader coverage and higher listed durability.
▍Conclusion
Choosing the right armor in Arena Breakout: Infinite is about balancing protection, durability, coverage, mobility, and cost. Class 4 is suitable for Normal mode, Class 5 is a strong choice for Lockdown Zone, and Class 6 is worth considering for Forbidden Zone.
Remember to check armor condition and mode restrictions before every raid. For more Arena Breakout: Infinite guides, weapon recommendations, and game updates, keep following TOPUPlive.

James Park
game writer
I focus on writing guides, tips, and strategy content for popular games. I specialize in breaking down complex systems and economy mechanics, helping players save time and currency while staying ahead of the latest updates and limited-time events.

Produk terkait
Berita Terkait

Cara Mendapatkan PokéCoins di Pokémon GO: Metode Gratis, Harga & Penawaran Terbaik untuk Koin Pokémon GO
Koin Pokémon GO Murah – Cara Mendapatkan PokéCoin dengan Aman dan Murah
Panduan Top-Up Ultimate Pokémon GO: Cara Hemat Besar untuk PokéCoins
Cara Mendapatkan PokeCoins di Pokémon GO: Panduan Lengkap
Wuthering Waves Termurah per Negara: Harga Regional & Panduan Top-Up Aman
Panduan Event HSR The Fluffy Movie-Overheated: Hadiah, Gameplay, dan Tips
Panduan Rutacoin Monster Hunter Outlanders: Cara Mendapatkan Rutacoin & Kegunaan Terbaik
Monster Hunter Outlanders Reroll Guide: Best Characters, How to Reroll, and Starting Rewards