
Greeting, Travelers!
With the launch of Genshin Impact Version 6.2, the "To Temper Thyself and Journey Far " event has entered its season 2. Due to the integration of certain Mondstadt characters into the Hexerei: Secret Rite, their mechanics and values have received significant enhancements. Consequently, the Constellation recommendations for this season 2 will differ noticeably from the first.
Wondering which character is the optimal choice? Don't worry, we've prepared a comprehensive guide for you!
》 》 》 Durin is coming !《 《 《
Don't forget to visit TOPUPlive and get up to 28% off your Genshin Impact recharge !
⮛⮛⮛

| To Temper Thyself and Journey Far Season Duration
The event lasts for 12 weeks, same duration as the Season 1. However, players only need to complete 8 weeks of missions to obtain the Constellation Exchange Item.
| How to Get Free 5-Star Constellation
Complete Daily and Weekly Training Goals
To claim your free 5-star character constellation, Travelers must first complete 8 Weekly Training Goals during the event period, which basically will require you to do 5 days worth of dailies per week over the course of 8 weeks.
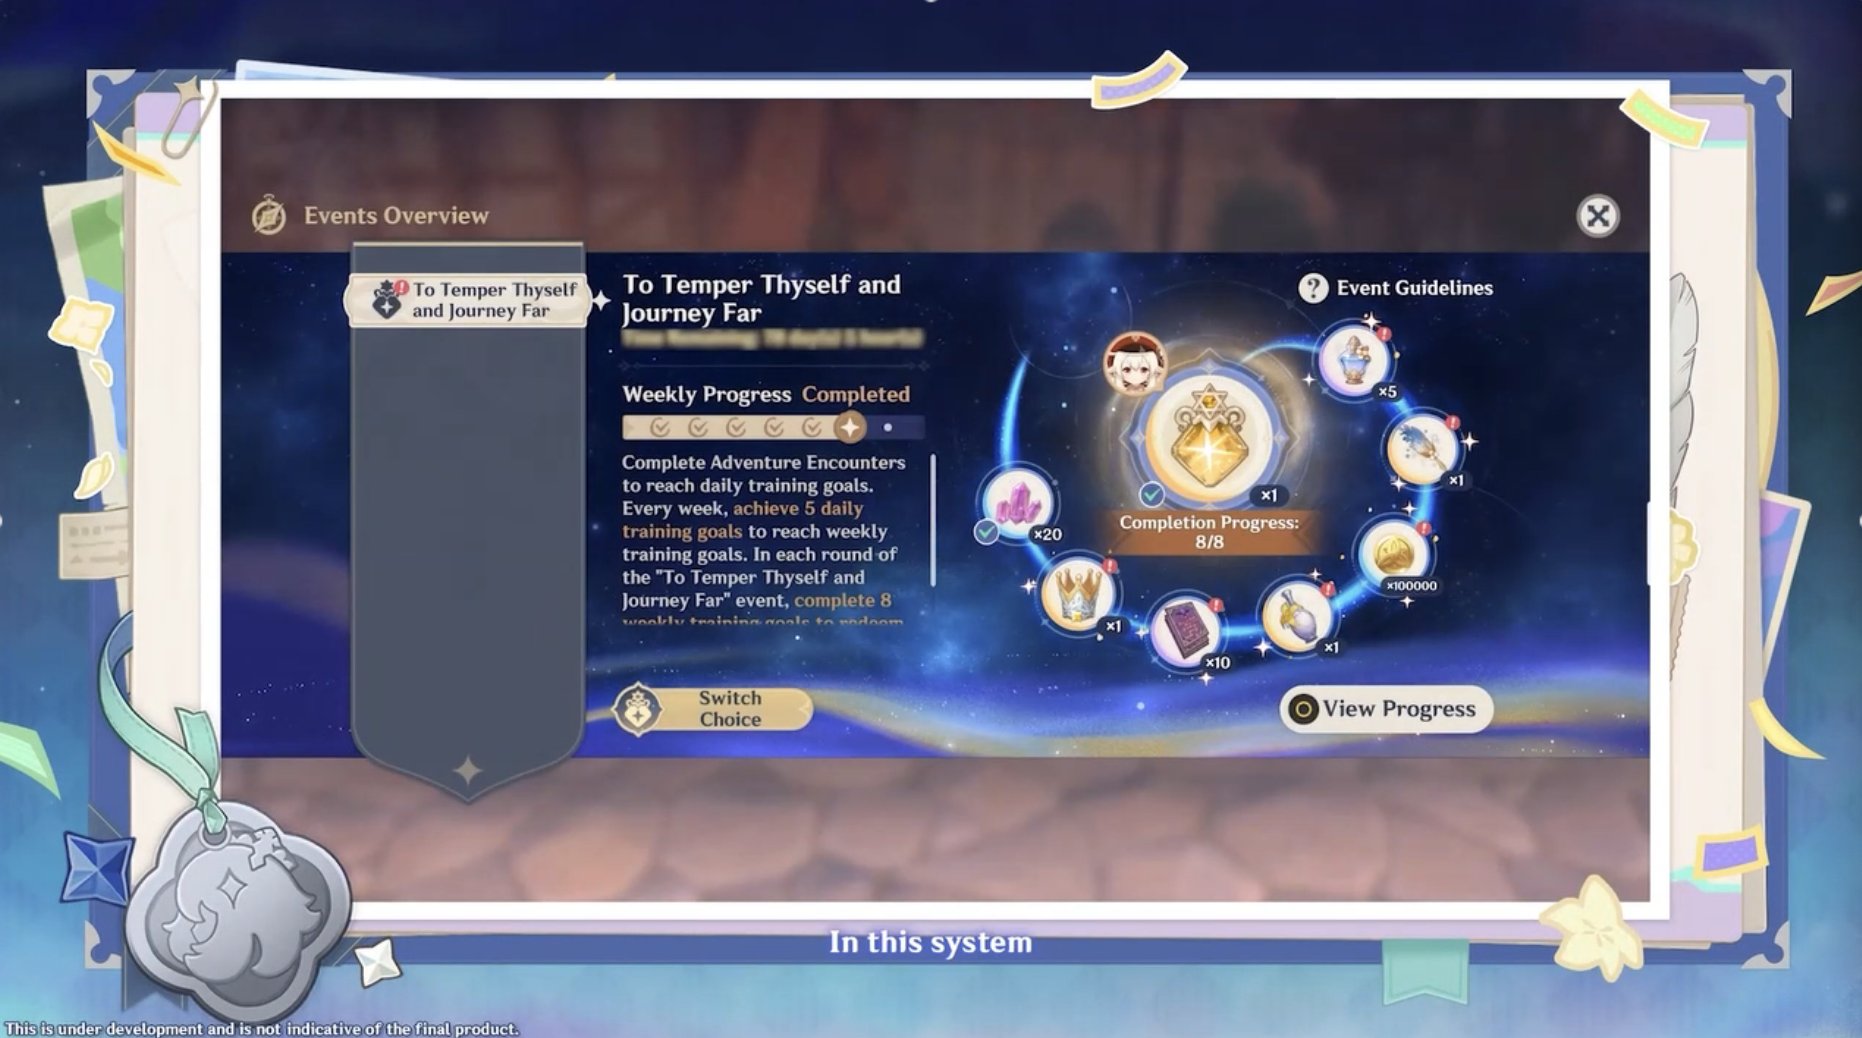
Complete Dailies 5 Times Per Week
The fastest way to achieve this is to log in daily and craft two Condensed Resin, which will automatically complete the day's Daily Commissions. Furthermore, the selection of characters in the second round remains unchanged, but characters chosen during the Season 1 cannot be selected again this time.
| List of Available Characters
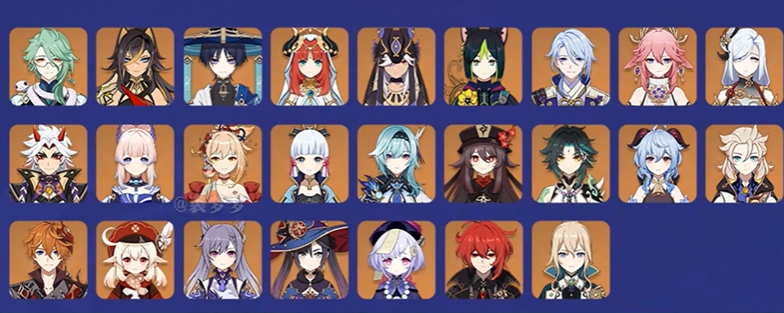
The characters available include characters from the Standard Banner, as well as some characters released before Version 3.6. Note that Kazuha, Yelan, and Alhaitham aren't included in the choices.
| Best Character Constellation to Choose
We will based on the Mondstadt characters who received enhancements in the new event, provide you with the optimal character choices and Constellation recommendations, ordered by priority.
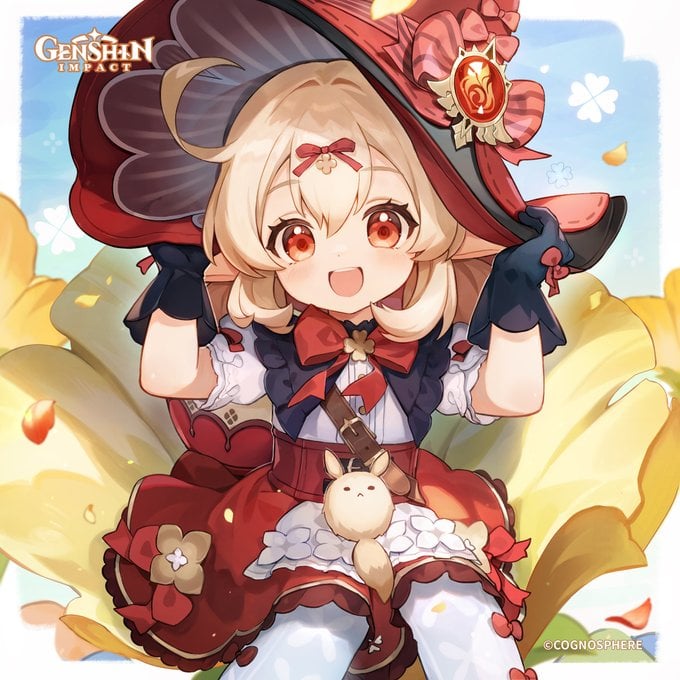
Klee
Following the Hexerei: Secret Rite enhancement, Klee has received significant boosts to both her base kit and her Constellations. Her previously criticized issue with feel has also been optimized.
The strengthened Klee can now even compete with an equivalently geared Arlecchino team in a mono-Pyro Overload composition, specifically at the low-investment, single 5-star unit level. However, the disparity becomes more noticeable as the investment increases, but she is still considered to have reached the level of a Fontaine era Main DPS.
Therefore, players who like Klee and want to see her perform better should absolutely consider her key Constellations:
C1 increases Klee's ATK by 60%.
C2 changes to directly apply a 23% DEF reduction upon hitting with her Elemental Skill.
C6 grants infinite Charged Attacks without requiring complicated operational techniques .
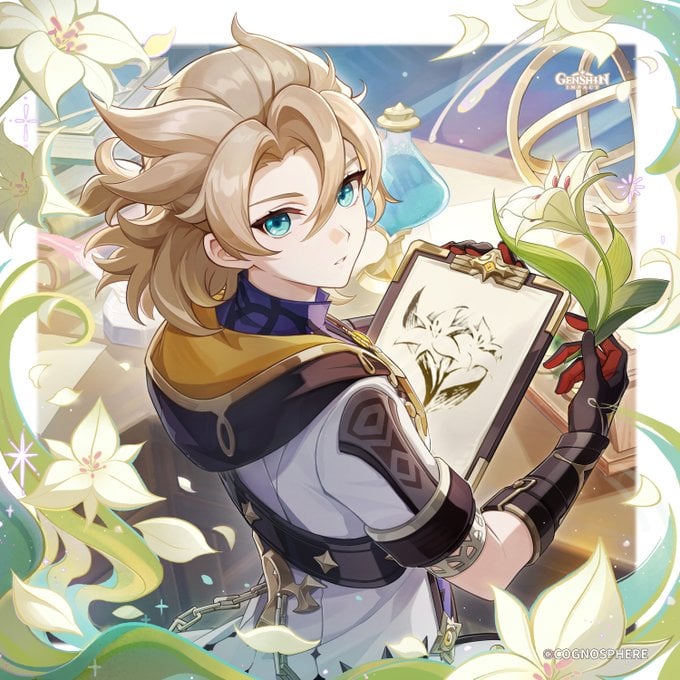
Albedo
Albedo has also seen new breakthroughs in both his support and damage capabilities. The new "Silver Isotoma" compensates for the rdestruction of the Solar Isotoma, further enhancing his damage-buffing potential.
Regarding his Constellations:
C1 now provides an additional 50% DEF increase, making it easier to reach 3000 DEF. This allows players to opt for a Geo DMG Goblet to supplement his damage output.
C2 allow his Elemental Burst to be cast automatically from off-field and grants the entire party a 125 Elemental Mastery bonus, ensuring both damage output and support utility are maintained.
C4 increases the on-field character's jumping height and provides a 60% Plunging Attack DMG bonus. This can be viewed as a simplified version of Xianyun's Elemental Burst, but the ability to trigger it just by using his Elemental Skill makes it far more convenient.
Overall, the strengthened Albedo has greater support capabilities and is significantly more versatile than before.
Shenhe
Although the environment for Cryo damage dealers is still somewhat limited right now, Shenhe, as the sole limited 5-star dedicated Cryo support, still has highly valuable Constellations.
C1 grants an additional charge for her Elemental Skill, which significantly optimizes Shenhe's Elemental Burst rotation and allows for more flexible damage boosting choices. This is considered a key Constellation for her.
C2 extends the duration of her Elemental Burst and increases the Cryo CRIT DMG of characters within its field. This enhancement, when combined with the Elemental Burst's Resistance Shred effect, provides a very noticeable boost.
C6 allows the Icy Quills effect to be triggered without consuming a Quill count. This fundamentally transforms her support capabilities, making it Shenhe's strongest Constellation.
Nilou
For players who have Nefer, Nilou is highly recommended.
C1 extends the duration of her Tranquility Aura.
C2 decreases both Hydro and Dendro RES by 35%, which provides a relatively noticeable increase in combat performance.

Hu Tao
Although Hu Tao's values and mechanics are currently completely outdated, she can still easily clear normal stages in the Imaginarium Theater.
Her C1, which allows her to perform Charged Attacks without consuming Stamina, significantly optimizes her operational feel and provides a certain degree of damage increase.
If you happen to have her signature weapon but only have her at C0, it is highly recommended that you prioritize selecting her C1.
Kamisato Ayaka
While she currently struggles a bit in the Spiral Abyss and Stygian Onslaught, just like Hu Tao, she is highly effective in the Imaginarium Theater.
C2 allows her to summon two additional small Frostflake Seki no To alongside her Elemental Burst. If all three whirlwinds hit, it equates to a damage increase of approximately 40%.
C4 grants a 30% DEF Reduction. This not only provides a noticeable boost to her own damage but can also be paired with a Pyro Main DPS for a Melt reaction, or allow her to serve as a Sub-DPS for Skirk.
Mona
Mona, following the Hexerei: Secret Rite enhancement, has seen an extension of her damage amplification duration. This allows her to pair with other Hexerei: Secret Rite characters to further increase the team's overall damage output.
Regarding her Constellations:
C2 increases the Elemental Mastery of all party members after a Charged Attack.
C4 provides simultaneous increases to both CRIT Rate and CRIT DMG, though the value is only 15% for both.
| Conclusion
Therefore, we recommend that everyone prioritize selecting the Limited 5-star characters.
If you don't need or can't choose a Limited 5-star, then consider exchanging for a Standard 5-star that you need.
If neither of those options applies, choose a character that is close to C6 to quickly obtain Masterless Stella Fortuna. This will allow you to ascend your favorite character to Level 100.

Looking to stock up on Primogems and stay ahead of the game? TOPUPlive offers a safe and discounted way for genshin top up. Enjoy:
✅ Official partner with secure transactions
✅ Exclusive discounts on Crystals packages
✅ Instant delivery to your account
✅ 24/7 customer support
Get safe, instant, discounted top-ups with 12% off all games ( for user users) or 10% off using blog code:toupliveblog. Save now!
